
Cricut Explore Air 2 Basics for New Cricut Machine Crafters
This is a sponsored conversation written by me on behalf of Cricut. The opinions and text are all mine.
Over my many years of mom-ing, I spent many hours over a table, working on some craft with the kids. School projects, party decorations, wall decor or gifts, the list was endless. We cut everything by hand, wrote pretty lettering until our fingers cramped up and sometimes we broke out the irons to try a personalized shirt. Who knew that all these years later, I’d own one machine that could do that all? This week, I learned some Cricut Explore Air 2 basics for new Cricut machine users and I am HOOKED.
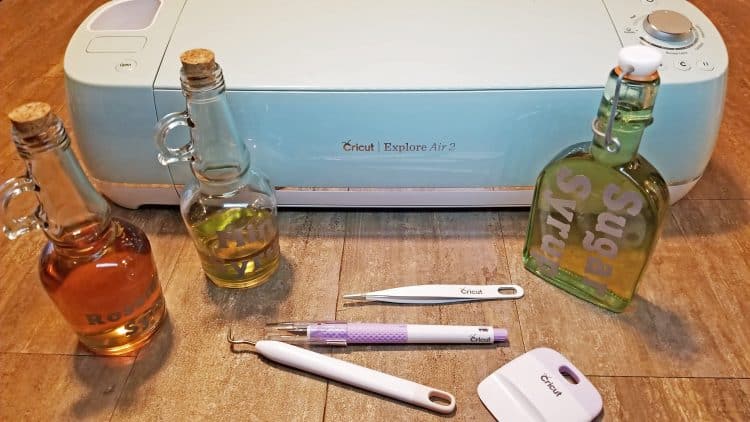
As a new Cricut ambassador, I get the fun of learning how to print and cut with Cricut by making crafts and gifts for my family. I opened the Explore Air 2 box first, and set-up was incredibly easy. Plug it in, turn it on, connect it to your PC and follow the online directions. Before you know it, you’re completing a test project, using materials provided with the Cricut machine. If you’re like me, you may do a little happy dance. It’s so much fun turning a few plain pieces of cardstock into a customized, personalized card in under two minutes. Oh, the possibilities!
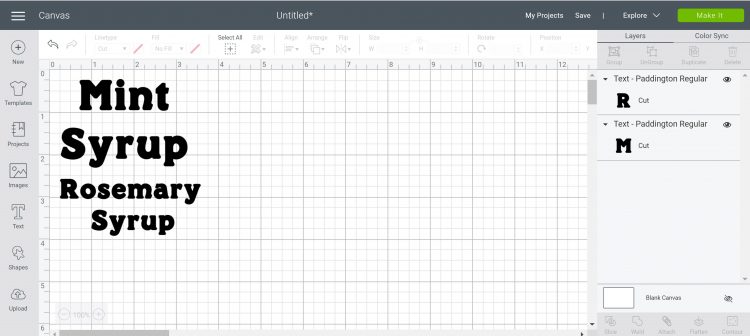
I’ve got a long list of Cricut projects, but because I’m a new Cricut owner, I was worried about the learning curve, so my first project was pretty basic: fun labels for my infused sugar syrup bottles!
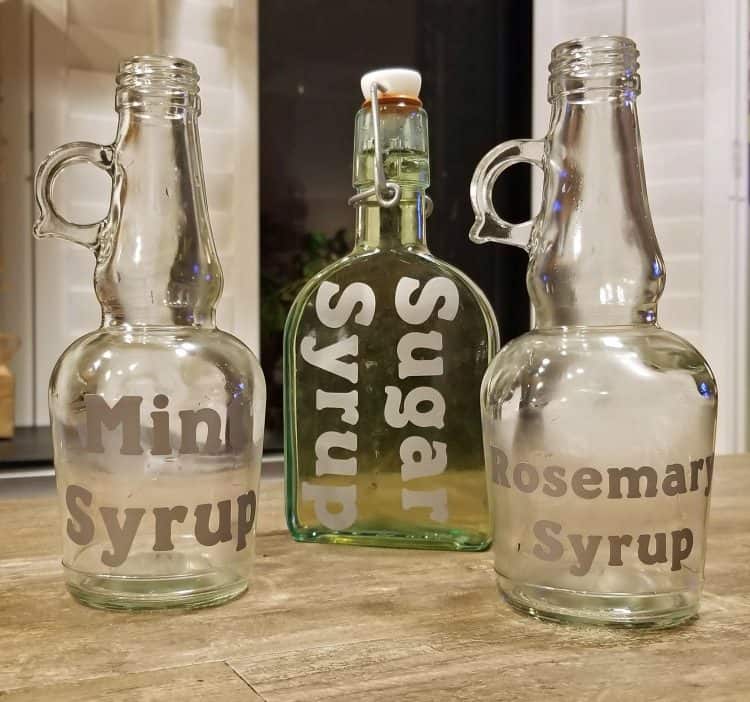
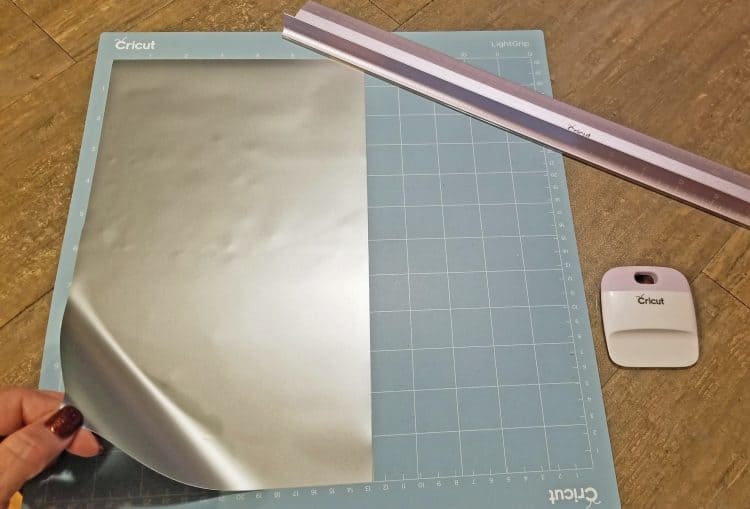
Using some of the silver metallic Premim Vinyl (available at Cricut.com, along with the rest of the equipment) and Cricut Design Space, I printed out three simple labels: Sugar Syrup, Mint Syrup and Rosemary Syrup. It was SO easy!
I’ll go through the steps of my project in more detail in a later post, but I wanted to give you my impression as a first-time Cricut user, and give you some Cricut Explore Air 2 basics so you can unbox your machine without any fear.

The instructions online and in the box explain steps better than I can, but here are a few things I learned right away:
Don’t keep the plastic cover off of your sticky mat when you’re not using it. One stiff California wind coming in the window could blow it off the table and cause it to land upside down on your floor. (And if your floor isn’t just freshly vacuumed, it could pick up crumbs or things that make it harder to stick materials to the mat flush.)

The best way to put that plastic cover back on? Line up the little hole at the top of the plastic sheet with the hole in the mat. This evens it up with the entire mat, so lightly dropping it will cause it to land where it needs to go without having to realign. (This really is such a basic piece of information yet it took me several times replacing the sheet to catch on.)
Be sure to change the dial on the Explore Air 2 to select the material which you’ll be cutting. I missed that step on the first pass of label creation. The dial selection changes the depth and pressure of the blade, which is critical to getting a proper, clean cut. (I lost a few precious inches of vinyl by doing this and I felt like a moron, but if that’s the worst thing I do, I’m okay with that!)
If you make a mistake and cut your materials too big, you haven’t necessarily wasted the vinyl, cardstock or whatever you are using. When I did not change the dial properly, ruining the label I’d attempted to cut out, I had about 4″ of untouched vinyl below the ruined part. I removed all the vinyl in the botched cut, used one of the weeding tools (a small spatula, in this case) to hold up the edge of the unused portion, cutting across (not touching the sticky mat) and removed a large portion of vinyl, both layers, to be reused again.
You WILL make mistakes. The learning curve is not what I would call steep, but there are a lot of options within Design Space and with the machine itself, all designed to help you kick out beautiful projects customized as you envision. Take the time to read the instructions, look at some of the tutorials on Cricut.com and do a few test cuts. Mistakes are part of the process of learning any craft, so don’t let it frustrate you. I am already so much more comfortable with my machine after just a couple of hours of playing with it and watching instructional videos.
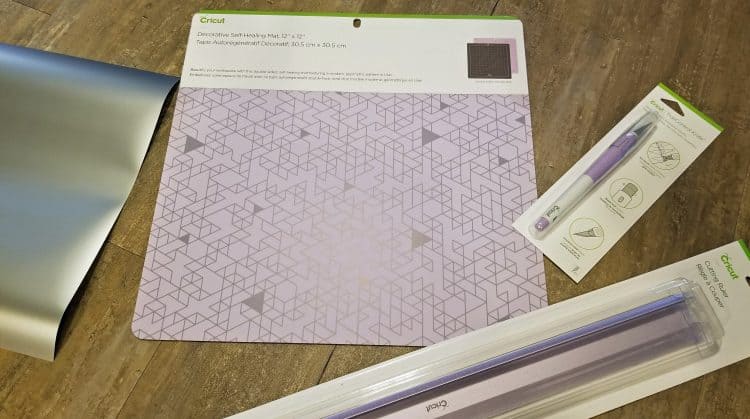
A self-healing Cricut cutting mat, cutter and straightedge ruler are lifesavers. They aren’t critical to success but they work better than scissors in trying to trim, and they work great on the transfer tape or contact paper you’ll use to move a label from the mat to your object.
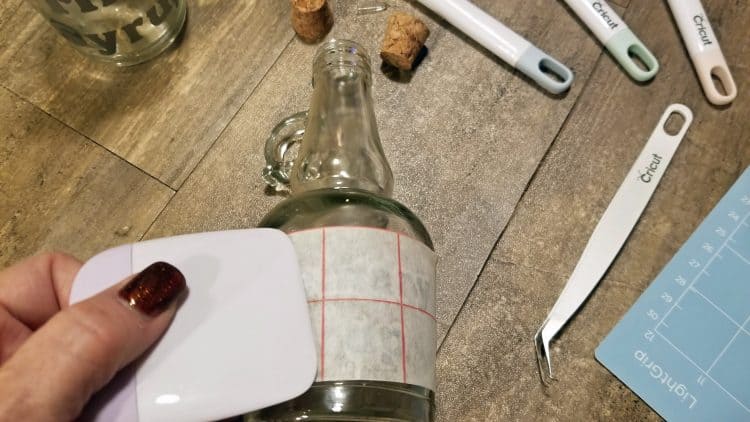
A credit card works as good as a scraper to help adhere things, but whichever you use, put some muscle into it so no little parts are left dangling. (I didn’t rip anything, but one part of the letter “m” in rosemary bent when I was applying to a curved bottle. I simply used the Cricut angled tweezers to bend it back and it went on from there without a noticeable hitch!)
If you can transfer all of your label at once, in the event of a set of multiple words, do it. This will help keep things straight and unified. (My Sugar Syrup label above? I did not do this and as a result, it’s not centered on the bottle as I’d like, but it’s just for my own fridge. The sets I’ll make as gifts will benefit from my first mistake!)
Try to find a place to set up your <affiliate link> Cricut machines and equipment permanently, if possible. I just set them up on a craft table upstairs and now I have zero excuse to not break into crafting whenever I have a chance! (I also visited a friend yesterday who has an entire craft room. I have all the envies, it’s gorgeous and she has so much space! Her den really is set up to make everything accessible and her craft business profits are proof that she’s rocking it.)
I’m beyond excited about all the fun ahead now that I’ve learned the Cricut Explore Air 2 basics! This machine is capable of cutting, printing, coloring, on so many materials. I’ve got plans for some Christmas ornaments on chipboard, some jewelry with faux leather and some seriously cool t-shirts for the family….but I’m going to zip my lip on that so they are a surprise! I’ve also got to run by the craft store to pick up the pillow form I’m using for Christmas pillows for our couch. I’ve always wanted this particular type of pillow and this year, it will grace my couch finally!
Stay tuned for more Cricut posts soon. I’ve got more projects to share, including using the Easy Press iron-on machine and other gear and materials. I’m busting out the glitter vinyl and that’s going to be so much fun. Glitter all the things!


What a fun idea!