Top 5 Reasons I Love My Cricut Explore Air 2
This is a sponsored conversation written by me on behalf of Cricut. The opinions and text are all mine.
A few months ago, I received the invitation to become a Cricut ambassador. I’ve always been a fan of the Cricut line of crafting products, so I was excited to start creating on a new level. What I didn’t count on was how much the Cricut products, especially my Cricut Explore Air 2, would inspire me to get crafting again. Since I feel like we could all use a nudge to indulge our creative side, I am sharing with you the top five reasons I love my Cricut Express Air 2!
First, a couple of really cool things about this version of the Cricut cutting machine:
- The Cricut Explore Air 2 can cut and write up to 2x faster than previous Cricut Explore models!
- It also cuts on more than 100 materials, including cardstock, vinyl, iron-on, glitter paper, cork, bonded fabric and more!
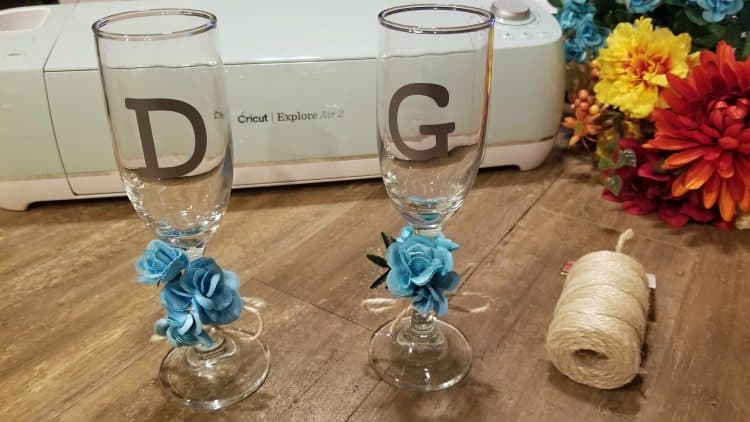
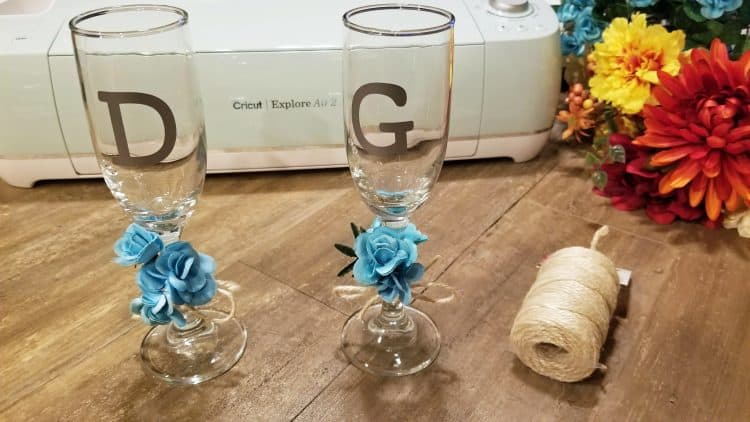
I’ve made a bunch of projects with my Cricut so far, and with Christmas only a week away, I’m still only partially through a list of things I’m making for my friends and family. Next up is personalized Christmas gift tags, but first, I’m sharing how I made easy custom, personalized champagne glasses for my daughter’s wedding three weeks ago. They got so many compliments and it was SO easy to gift them with something they can use on anniversaries and special evenings for years to come, and I made them in no time at all.
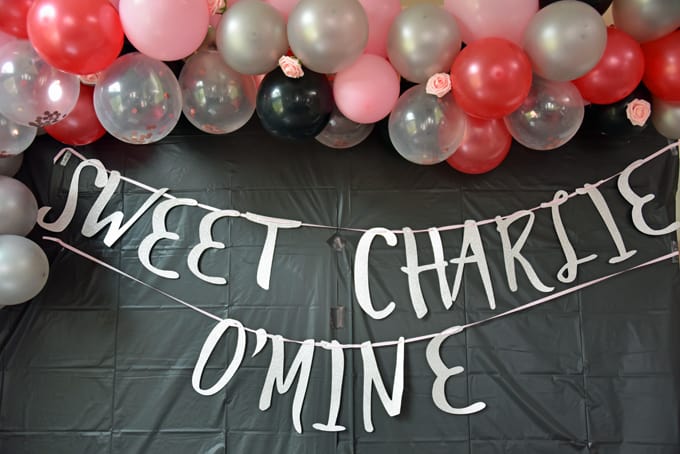
This leads me to reason #1 for loving my Cricut Explore Air 2: designing on the fly! My daughter announced her wedding plans a week before the big day, so we had only seven days to get everything handled, including decorations. This meant I was coming up with ideas while standing in line at a store or waiting for a fitting, and the ease of using Cricut Design Space on my phone meant I was able to multi-task. I chose the fonts for her wedding champagne glasses and matching table banner waiting for my daughter to finish choosing her flowers! If I’d wanted to get fancy, no problem, that’s all available on my mobile device, too. (You can download the app online in the Apple or Google Play stores for free; it’s available for both iOS and Android.) When you’ve only got a very short period of time to decorate and the same room is used for the wedding as the reception, you are a little limited so this super-easy banner was quick and was simple for people to set up so I could focus on my priority: the bride!
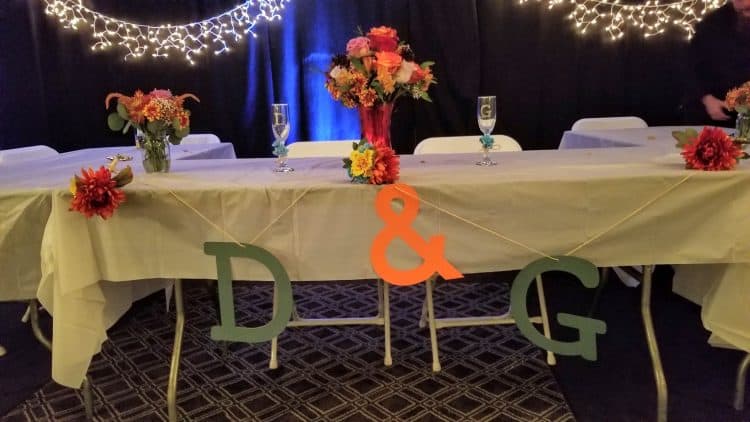
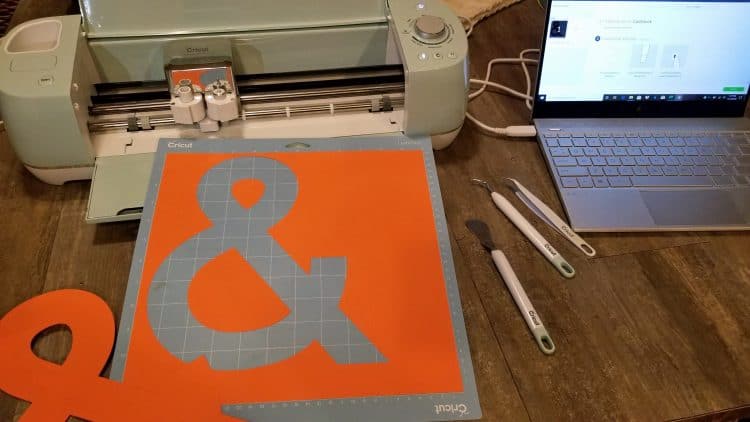
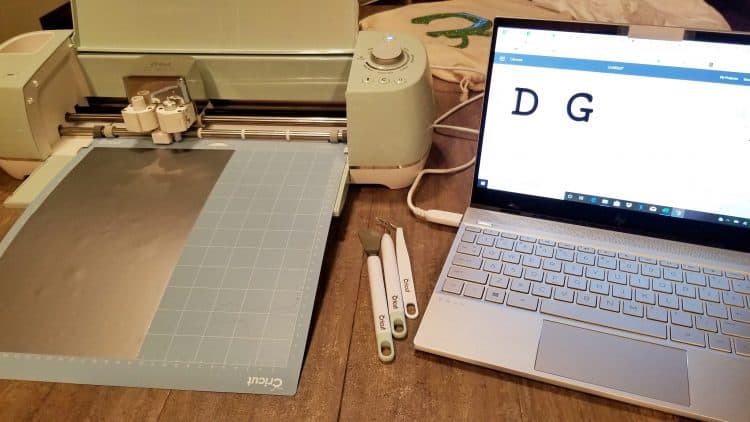
Reason #2 is just as cool: the machine’s lightweight and easy to tote around, so while her cake was in the oven (as I made the bride and groom cake), I put the Cricut on my dining table and set up shop to cut out the letters for the banner. No unwieldy machinery and only two cords: one to connect to power, and one to connect to my laptop. There is also Bluetooth capability, but older versions of the Explore or Maker require an adapter. You can also buy a case online at Cricut.com for added portability. (And having it so easy to use means you’ll use it more often!)
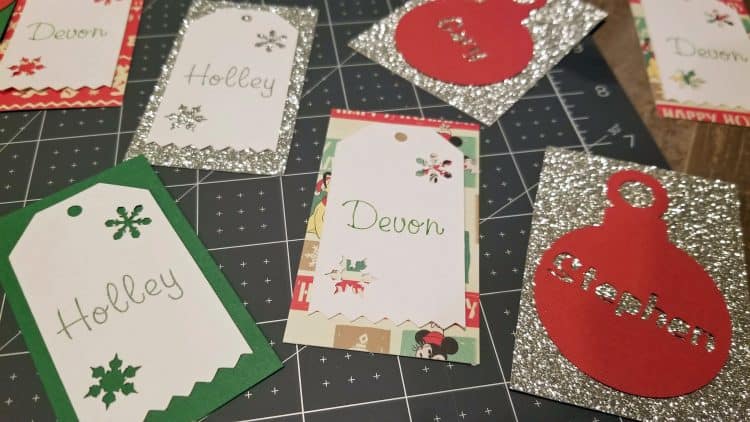
My third reason for loving my Cricut Explore Air 2 is that it saves me steps. Not only will it cut out the Christmas tags I’m making, but it will write the kids’ name on them, too. Having four kids, two sons-in-law and a grandbaby means there are a lot of gifts under our Christmas tree. I love to make the gifts look special on the outside, and I like to use tags that are personal to the recipient. With Cricut, I can choose a pretty Christmas shape, choose a pen color that the giftee likes, and in minutes, I have unique tags I can pretty much guarantee no one else will have. I keep the blade in the machine and the pen there next to it, which are both easy to change if need be, and I only have to push all the buttons once.
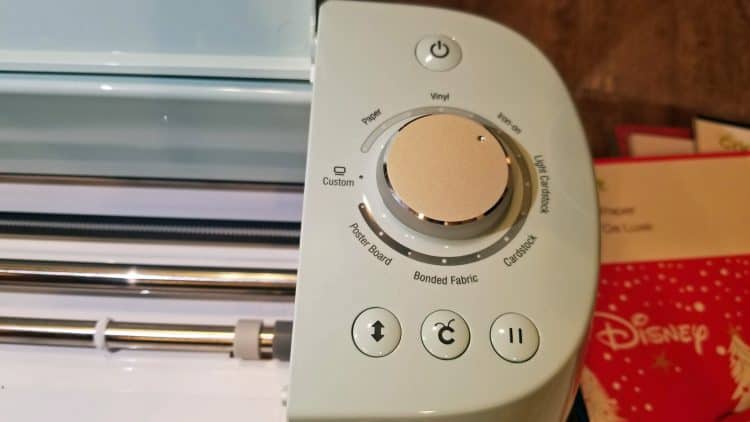
Reason #4 is the versatility: one minute, I was cutting out the tags with the kids’ names on them, and the next, I was cutting the faux leather for my Christmas “Frozen” earrings. (More on them in another post!) I literally had to reload the sticky mat with the faux leather (available at Cricut.com or local craft stores), select the design in Design Space, which I’d already designed earlier — also while on the go — then select Custom on the dial and choose Faux Leather from the list of custom material options. How many other tools allow you to do so much at literally the flick of a switch?
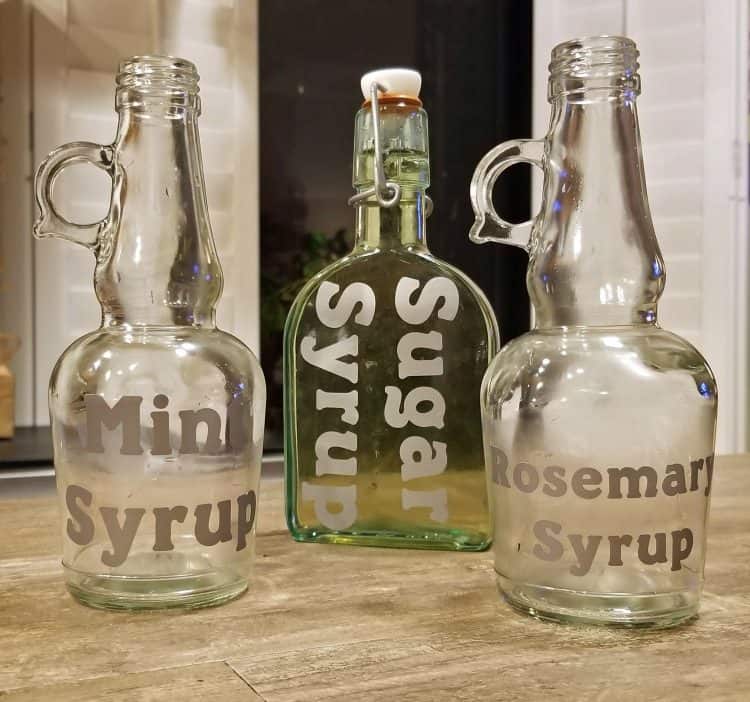
Last but not least, my fifth reason for loving the Cricut Explore Air 2 is the learning curve….as in, there isn’t much of one. You will need to play around a little when you want to weld letters or move things as one unit in a design, but you literally can turn it on and within minutes, print out labels for glass bottles, create an iron-on tag for a kids’ backpack so they don’t lose it at school (something I could have used for my older son, who lost everything in grade school…twice) or print up, and cut out, a pretty ‘gift certificate’ or award for Best Dad of the Year.
Once you turn on your Cricut Explore Air 2, you’ll find your own top five, or top ten even, reasons to love the cutter. You’ll also get inspired to create and put together unique gifts and pieces of decor around your house. Now I’m going to get going and finish my Christmas tags. Come back in the next couple of days to see that post, too, along with my tutorial. Speaking of tutorials, here’s how I made my daughter’s personalized and easy champagne toast glasses!
What you’ll need to make these personalized champagne glasses:
- 2 glass champagne glasses (from the dollar store is fine!)
- 1 sheet of permanent vinyl in color/pattern of choice
- small adhesive rhinestones
- twine or ribbon
- floral wire
- fake flowers
- transfer tape or contact paper (clear is best)
In Design Space, I had chosen the font and size for the dollar store champagne glasses I’d purchased. Using the measurement grid in the Design Space canvas, I laid out the necessary letters — a G and a D — in the space and sized them properly to fit the glasses. Then I was ready to cut.
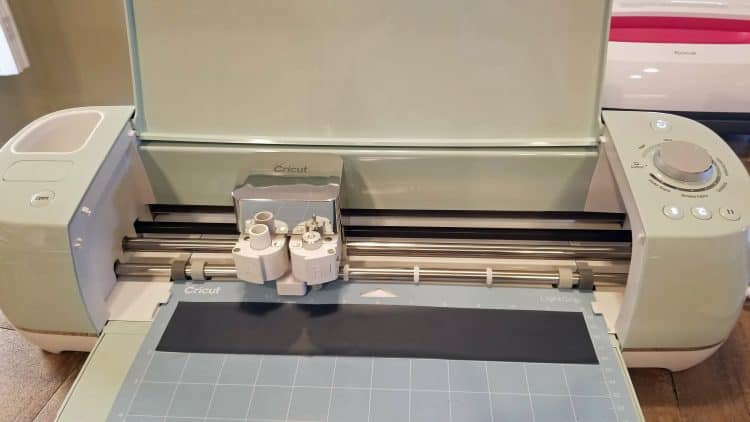
Prepping the machine was easy! Select the proper color of permanent vinyl and adhere it to your sticky mat. (If you can, cut the vinyl close to the size you will use as it’s easier later on; if not, that’s okay, you can cut the excess later without wasting it.) Insert the mat into the machine, select Vinyl on the material dial, click start in Design Space, and follow the on-screen directions to finish the project. It talks you right through the whole process!
A good example of sizing is the above photo of when I cut out iron-on for my daughter’s wedding shirt. (You can read more about that Cricut craft project here.) I used a strip of vinyl just big enough; I wish I’d done that when I made the glasses, but I did them first, so learn from my mistakes!
One BIG thing to remember is that when you are using stick-on vinyl, you don’t need to mirror because you’ll place the vinyl down face-up. But, you will need a transfer material to ‘lift’ the letters off of the mat. You can use Cricut Transfer Tape or even shelf/contact paper. This was the part I had to research but there were a lot of tutorials available on the internet.
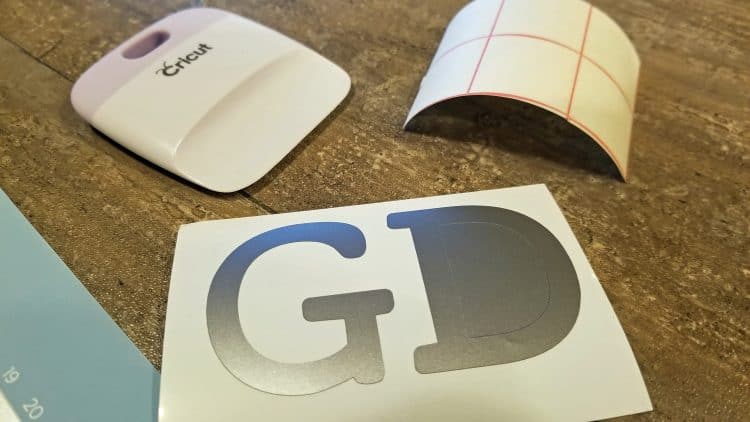
The steps are simple: print out the letters with the vinyl face up (or peel-y side down) on the mat. Weed the excess parts of vinyl (like the center of the D) and if you are like me and used a full-sized sheet of vinyl, peel up the unused portion below the design and cut it off to use another time.
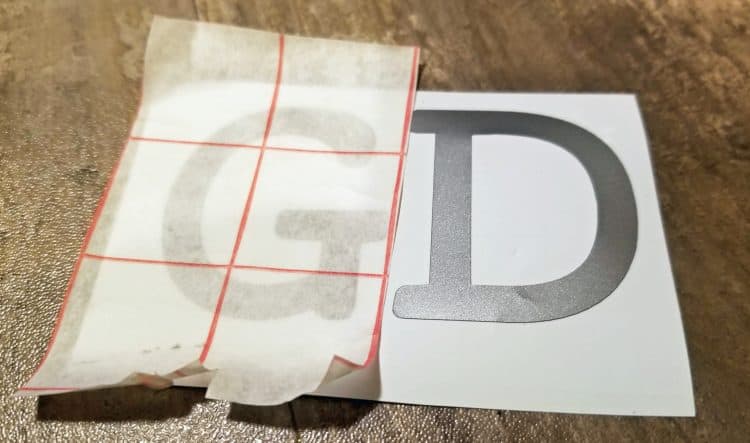
Cut out a piece of the shelf paper or tape, peel off the back and place the sticky side gently on top of the letters. I did one at a time, so I used scissors to separate between the D and the G. (There are other ways to do the layout, but I was being frugal with my vinyl.) Gently pull the letter off the mat with the tape/contact paper. Remove the sticky back of the vinyl and apply carefully to the required position on the glass.
Bear in mind, round or curved items do require you to apply carefully so you can avoid any twisting or mis-aligning of the letter. Confession: I had to do the G twice, as I ended up with a slight wrinkle. Once you’ve applied the vinyl, you may not be able to reposition without ruining it.
Once you’ve applied it, use a brayer, a credit card or the Cricut application tool to rub all over the transfer paper where the letter is. This gives a good solid application. Then you can gently remove the transfer paper. Begin slowly, to make sure the vinyl is stuck completely to the glass.
Pop the rhinestones on wherever you think they accent it the best. (Or if you want to cover up a wrinkle in the vinyl!) Wrap the fake flowers around the base, using wire to adhere them, then use twine and/or ribbon to cover the wire and add a bow if you wish. I used flowers to match the real flowers in my daughter’s wedding bouquets and they matched perfectly!
You can access my project in Cricut Design Space here! It’s really simple, but everyone has to start somewhere, right? Interested in buying the Cricut Explore Air machine? Click Cricut Explore Air™ 2 machine for more info!
Whatever you end up making with your Cricut Explore Air 2, you’re going to love it. I just used my Cricut this evening to make one basic type of tag and in the end, made five. I couldn’t stop! And I didn’t even get as fancy as I wanted to! I guarantee that you’ll find using the machines much easier than you imagine and you’ll instantly build a growing list of crafts you want to try. As I was recently told at the Cricut pop-up at the Grove in Los Angeles, “think outside of the box!”