Cricut Joy Fast Crafts: Fun or Organizational Crafts on the Fly
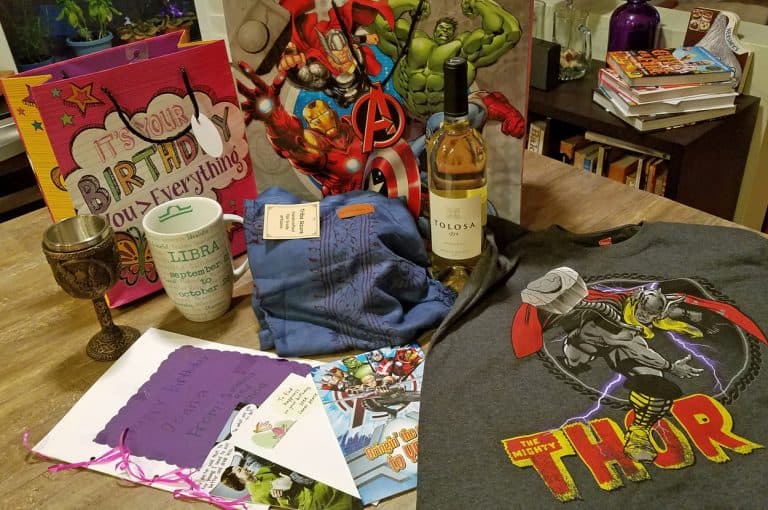
I buy a lot of birthday gifts for people, but I’m notoriously bad for forgetting to add a tag or for that matter, even a card. I usually hand the gift to the mom or the birthday girl with a hug and a “This one’s from me.” You’d think by now in life, I’d have remedied this, but no. It’s become a bad habit, but now with the ability to knock out some Cricut Joy fast crafts, I’m not going to be the one with no card any longer. Instead, I’m going to be the one with the prettiest card, every time!
***This is a sponsored post written by me on behalf of Cricut. All opinions are 100% mine.***
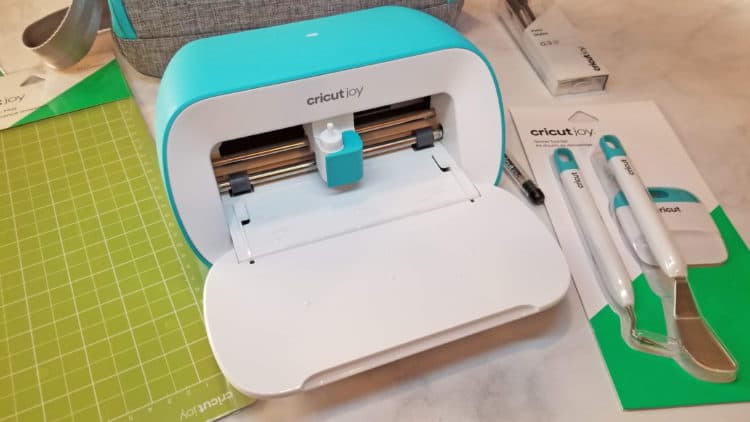
Thanks to Cricut, I now am the owner of the new Cricut Joy. (I LOVE being a Cricut ambassador!) It’s the tiniest Cricut cutting machine, so small you’ll be able to find permanent space for it on your counter, making it easy to use any time, any day. It’s perfect for creating fast crafts on the fly and getting organized as you think of things. No more “I really need to make labels for those spice jars next time I’m crafting.” You can knock them out right as you need them!
I owner a Cricut Explore Air 2 and a Cricut Maker, yet this Cricut Joy is entirely different! It cuts card stock, iron-on, vinyl and paper, and my favorite thing? It allows for materials to be fed through the machine, so you can cut something as long as four feet long! (Or, you can do repeated cuts up to 20′ long.) Pretty cool, right? This means those wall vinyls with long words or party banners can be knocked out in minutes without any elaborate set-up.
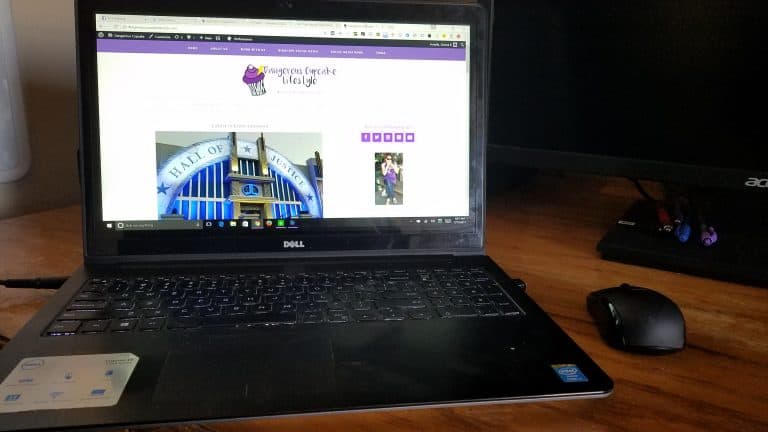
Okay, so I lied. My favorite thing isn’t the long material option, but its Bluetooth connectivity. It can stay sitting on my counter and I can be on my laptop at the dining table or couch, or back patio, and I don’t need to connect the Cricut Joy to my laptop. The Joy connects to my laptop AND my phone, via Bluetooth, so I can pull up the Design Space program/app on either, load the mat into the Joy and boom, project completed.
This ease of use means I can knock out Cricut Joy fast crafts spontaneously without even leaving the room. When I get an idea for a personalized mug, I can make it right then, without forgetting it. (How many times do you think “I should make a mug with that phrase on it!” and then don’t follow-through? Is it just me?) I can also create a birthday gift last-minute, like a water bottle, wine bottle label or gift tags. I created a unique cover for my business journal, labels for my bins of flour, sugar and baking add-ins, and folder tabs for my desk drawer.
This Easter, the husband did a drop-off of Easter baskets for both the girls who don’t live with us, and the grandbaby. We have an Easter egg hunt each year, no matter how old the kids are (money in eggs an really keep anyone motivated, but we know they secretly enjoy the candy, too).
We also have a weird habit I inherited from my childhood: throwing the dyed egg shells at each other the following year. We poke our eggs on each end, blow the egg yolk/white into a bowl so we can use them, as there are only so many hard boiled eggs we can eat, since we have to have enough eggs for all four kids. We then dye the whole shell only, to leave up for decoration on Easter. We put them aside each year to save for the next year. Weird? Maybe. Fun? Definitely. Just one rule: don’t throw them at anyone’s face!
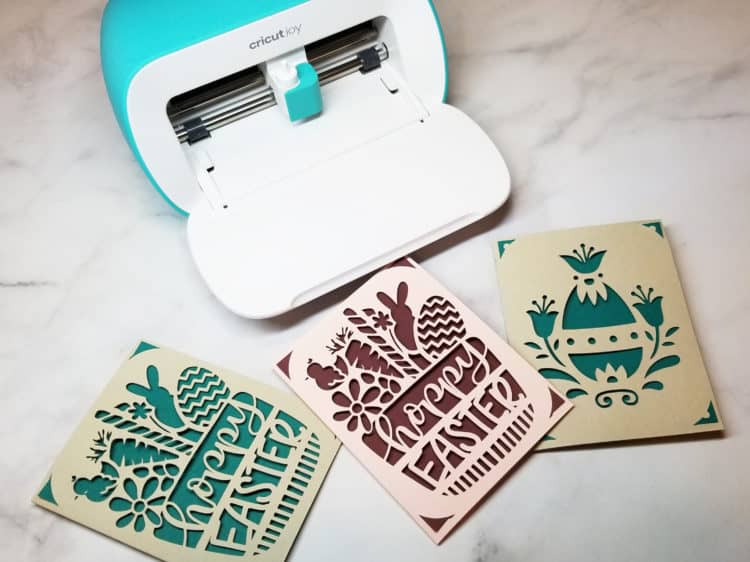
In addition to the Easter baskets, the husband dropped off a bag of last year’s eggs. He asked me to create a card for each basket, mentioning the traditions and passing along our love since we couldn’t be together….except it was kind of last-minute that this was decided and we can’t go to the store. No problem, I will use the Cricut Joy!
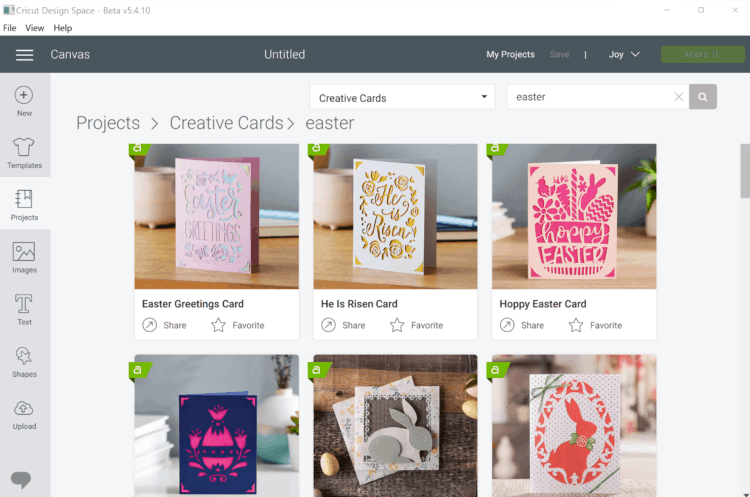
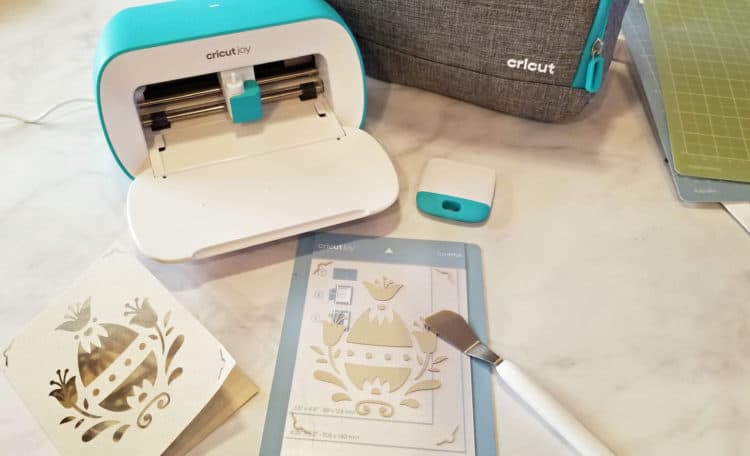
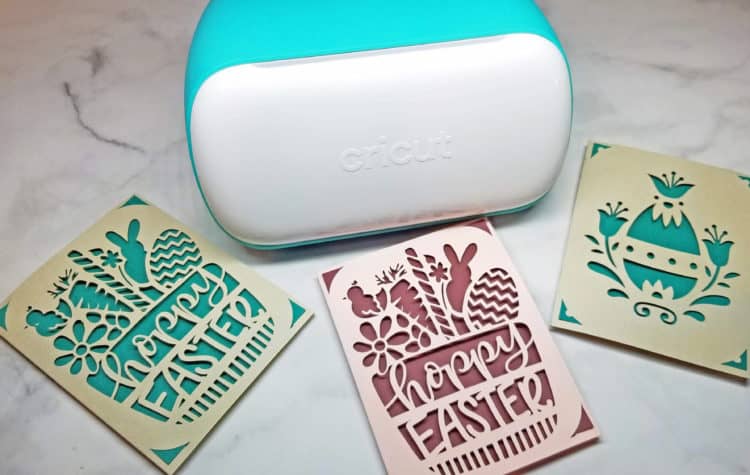
I signed into Design Space, connected my laptop to the Joy and chose a pre-made notecard from the Projects tab. Using the new, unique card mat, I created cards with cutouts on the front, slots for an insert and handwriting on the inside. The new card insert mat is GENIUS. It basically is a template for how to insert the card so the Cricut Joy can cut through the top layer without cutting through the bottom. It has a sleeve that protects the inside of the card, and when you want to do the writing, you unload the mat, turn the card inside-out, put it back in the mat and it does its thing. SO easy.
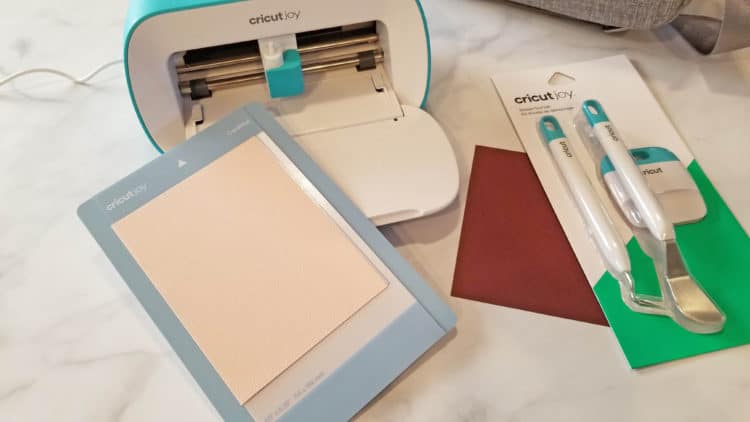
The mat has several markings for different card types, so you put it in the sleeve, push the top edge of the card to the top of the mat, then use a brayer to adhere the front of the card to the sticky mat. Cut, unload the mat and remove from the sleeve. Pulling the card from the mat does most of the weeding for you.
If I’d have more time, I’d have created my own cards, but this was a really good first project to do to get to know the machine and its capabilities. My recommendation is to try a premade card first, so you can see the layout of the mat. If you have another Cricut cutting machine, Design Space is the same. The canvas is the same, and you’ll see another list of material options from which to select. Once you do a premade card from the Projects tab, you’ll have a visual on what the mat will look like. From there, the list of options is endless!
Making Cricut Joy fast crafts will be an affordable lifesaver that doesn’t require you to have a craft room or a table at your disposal. It would be a great addition to your existing Cricut equipment or the perfect entry into cutting machines due to its portability and small footprint. If you want to learn more, head over to the Cricut Joy page. Have fun and get crafting!