Minimalist Bathroom Design with My Cricut Maker
We are one week away from completing our whole home renovation and remodel. We updated the house from top to bottom, removing the dated style and going with a clean, modern look. We went for a minimalist bathroom design in all three of our full bathrooms, and now that we’re done, the effects are a stunning contrast to what we had before.
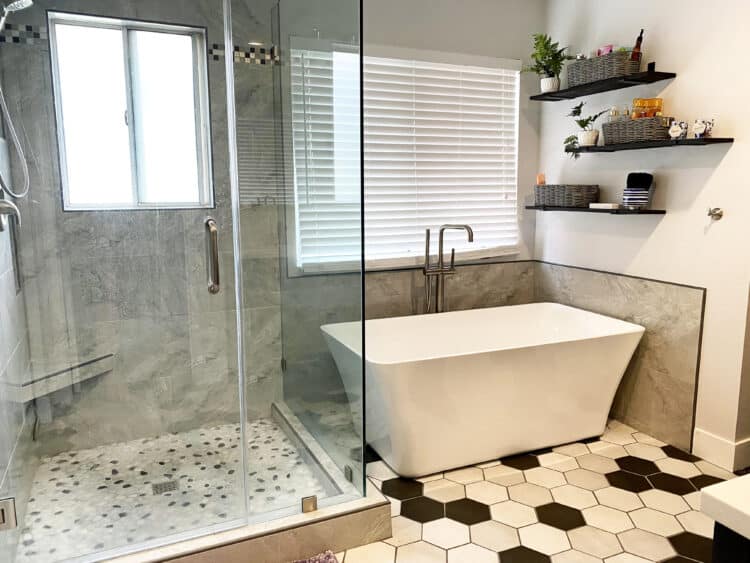
When we started the remodel, we were thinking we’d go with a rustic look. After we started picking design elements, started with a Shaker style kitchen cabinet, we realized we were 100% modern. It came as a bit of a shock, because we never saw ourselves as contemporary but we love the end result.
I hate clutter. I don’t do well operating around piles and too much of anything, and after living here seven years, our old kitchen layout wasn’t working for us. Nor were our bathrooms. We realized that overall, we had too much stuff. A renovation was the cure for that! It causes you to unpack everything to clear it out for carpet installers or plumbers, and you really don’t want to put it all back.
This played into our decision for a minimalist bathroom design focus. We didn’t want clutter in our new vanities, and in our master bathroom, we wanted a spa bathroom. I love to take long, luxurious bubble baths, and the pandemic showed us that making our home into a space that’s both functional and beautiful is important. This meant we needed to give our master bathroom a zen feel, with clean lines, a basic color scheme and all the peace we could create. A space for scented candles, rolled-up towels and fancy soaps, without the clutter.
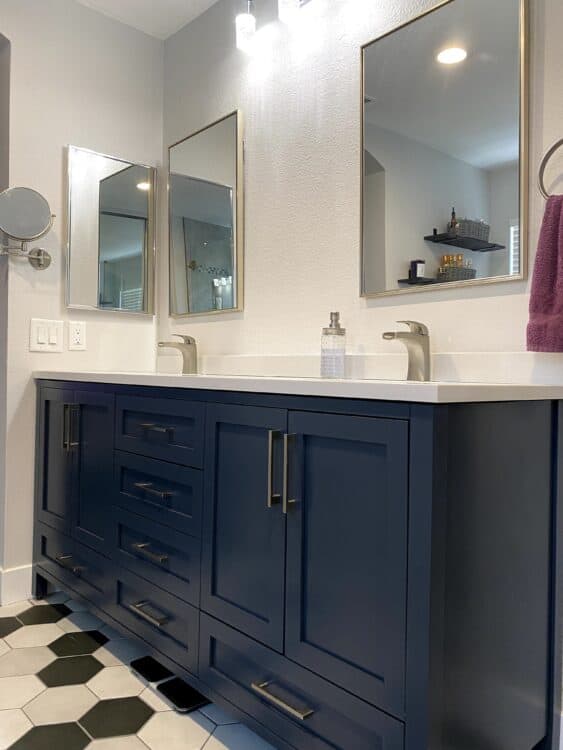
Enter the minimalist bathroom design. It doesn’t mean plain or lacking color, but it does mean cutting back on all those belongings we don’t need, particularly the things we can see. We went with a dual-sink Shaker-style vanity in a blue grey, with enough drawers and cabinets to hide all the stuff we really needed to keep. Two sleek waterfall faucets on a white granite top completed the look.
Add in two matte nickel mirrors, a crystal light for a fun pop of brightness and a pattern of large hexagon tiles in black, white and muted grey. Throw in a few pops of purple — my favorite color — and we have a space that makes us linger in the shower or tub. I can put on my makeup without shadows, there’s space to safely plug in a flat iron and taking a bath is HEAVEN.
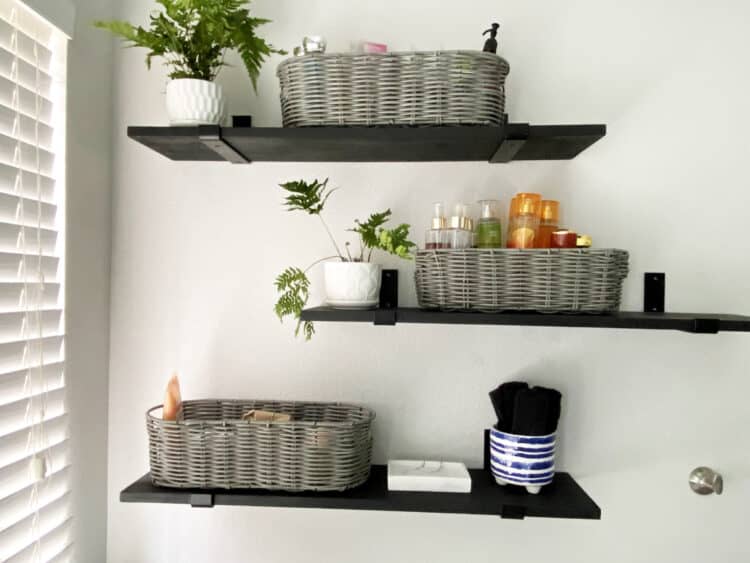
The last thing we added was a few things simply for decor: a couple of ferns, a colorful bowl to hold some wash cloths, and custom-made hexagon shelves to go on the wall between the mirrors. They match the black shelves over the freestanding tub and give me a space to set my glasses while in the shower. Or candles, but I don’t want just any candles. When you create a space with so much thought put into it, you are less likely to clutter it up with things that don’t really fit. I couldn’t find just the perfect candle holders, so using my Cricut Maker, I made them myself!
First, thanks to Cricut for providing me the materials to make these crafts! This is a sponsored post and links may be affiliate links.
I’ve got quite a few Cricut crafts here on the blog, and I’ve made a lot more that I haven’t shared, but I learn a little more about Cricut crafting each time I plug it in. I learned more with these hexagon-covered candle holders and I’ll share those tips with you! (I own a Maker, a Joy, and Air 2 and three of the Easy Presses and I love all of them. Check out this sale on a 12 x 12 Easy Press, my most-used size.)
My goal was to make two candle holders that fit the hexagon theme without adding too much color. I hit up the dollar store, and bought clear glass candle holders that had a bit of a rainbow aura when the light hits them just right. That room has a lot of natural light, so the idea of a little glow makes them even more fun!
I’m also making these candle holders for our guest bathroom, as all three have tubs/showers, so I want our guests to be able to settle in after a long day or touring Southern California. Giving them fun candles to light, and fun bottles of bubble bath in a basket under the sink, shows them how happy I am to have them here and that I want them to feel at home.
Supplies Needed
- Black permanent vinyl (Save 30% through July 27 with that link!)
- Silver or grey faux leather
- Glass candle holder
- Twine or hemp string
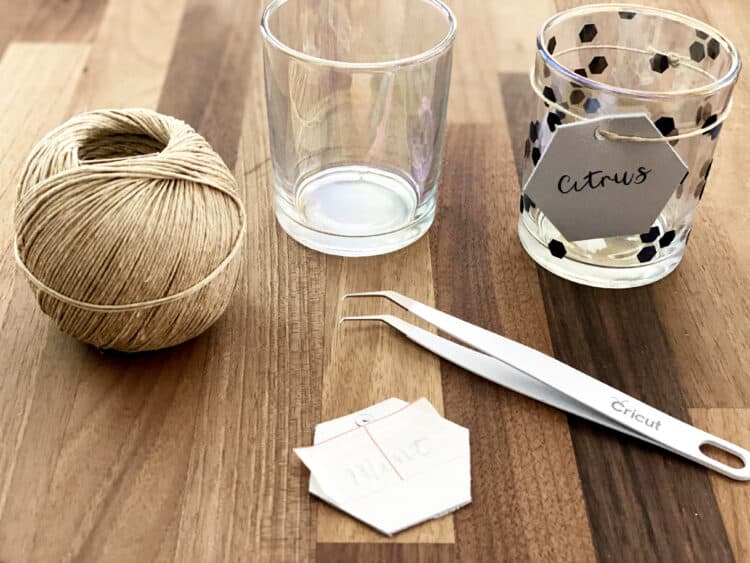
Making these candles was incredibly easy. Using Design Space and Cricut Maker (on sale now for $369!) I opened a canvas and started a new project. There is a hexagon object already available, so I placed it on the canvas, sized it and duplicated it twice, ending up with an 8.5″ x 3″ rectangle of hexagons.
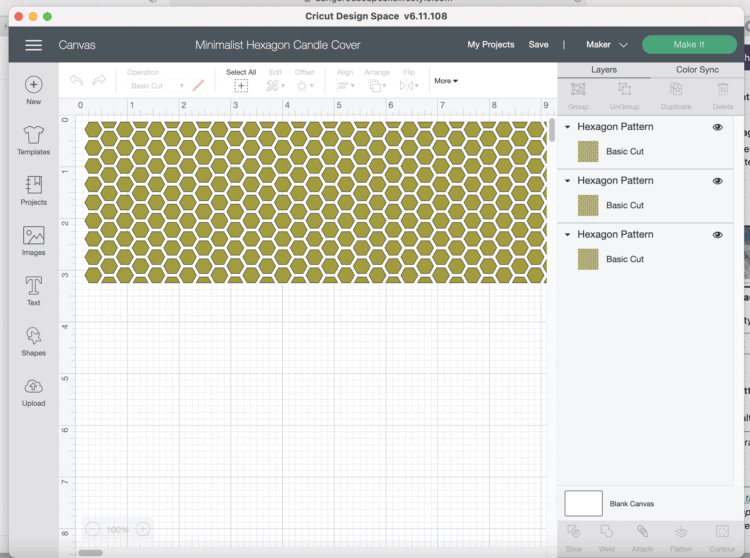
Set the Cricut settings for vinyl and cut. (Cutting that many shapes did take several minutes, so don’t be alarmed!) Then comes the fun part: weeding them and using transfer tape and a brayer to adhere them to the candle. (This is where the lines on transfer tape can be your friend, because they help you line up the strip of hexagons to the top of the candle holder.
Here’s where I ran into the only problem: not all the hexagons came up onto the transfer tape. I’ve got a son recuperating from leg surgery, so I wasn’t able to head up to the craft store for more, so I got a little creative. When the tape didn’t pull them up enough, I cut smaller pieces of it and went for even more of a random pattern. I didn’t want the entire candle covered, because I want more light to get through, but I had hoped for a few more to adhere than did, so I also used the Cricut tweezers to randomly put the hexagons onto the candle holders. I love the way it turned out!
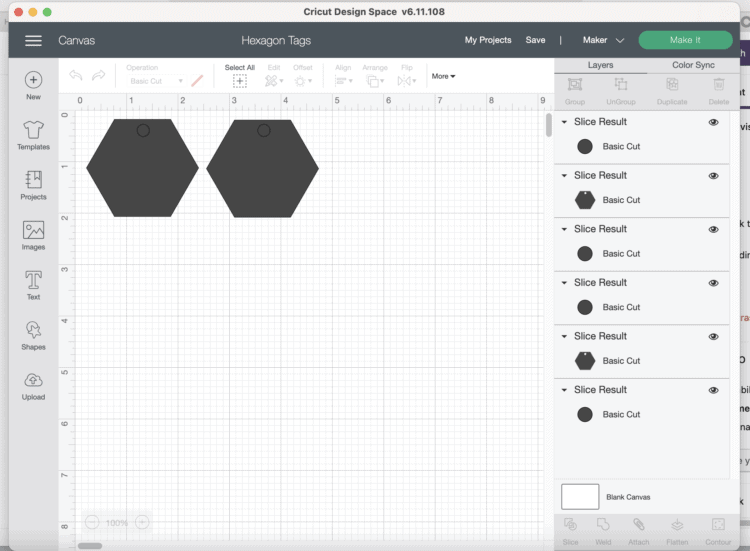
To make these candle holders a little more custom, and still stay within the minimalist bathroom design realm, I used Cricut faux leather to make tags. I chose the hexagon shape, sized it to big big enough for labels, added a circle shape to the tag, and using the Slice option, I ended up with a hexagon tag with a hole for a piece of the hemp twine to hold on the tag. Then I cut out the two words (citrus and mint) out of permanent vinyl and attached them to the tag. I wanted a little character without it being too much. I think it worked!
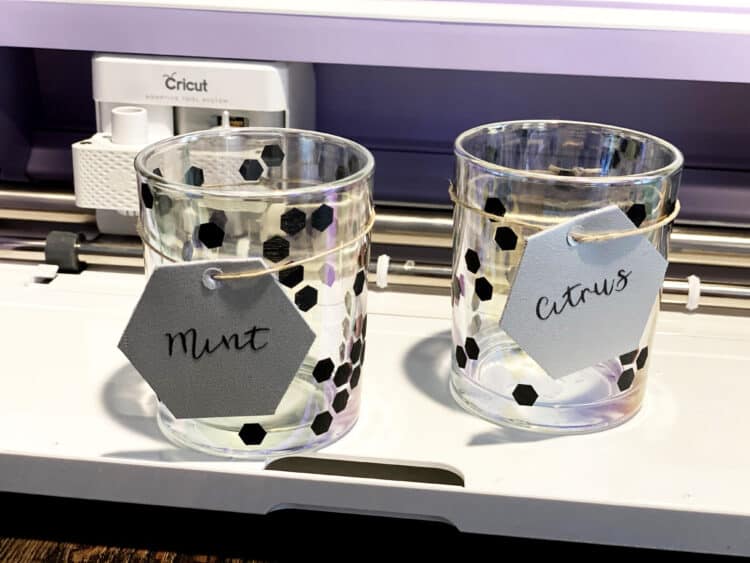
If you’re new to Cricut, this is a great project to try! Transfer tape takes practice. Another tip: don’t make your font so thin that it’s hard to safely weed. (“Weeding” means removing the excess material from your cut; in this case, I’m weeding the extra vinyl away from the words.) A cursive font can mean thin lines and they can rip if you’re not careful. Bolding or increasing the font size can help, or just using a more solid font will as well.
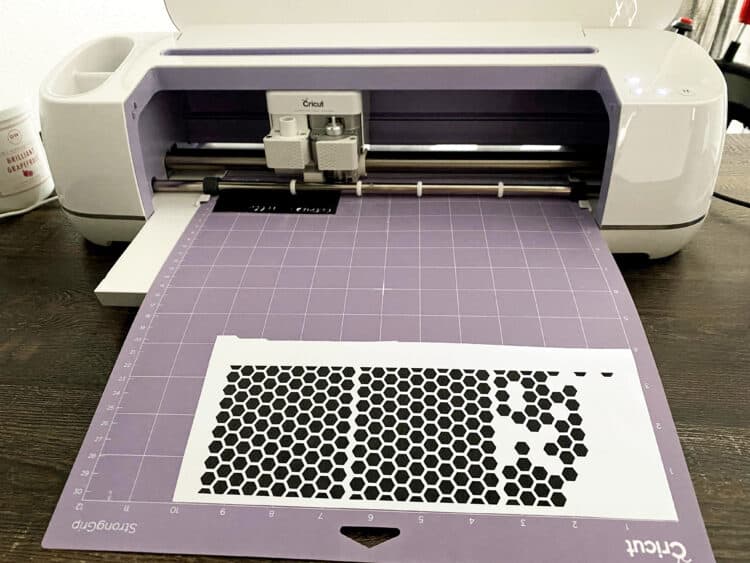
When you cut with real or faux leather, be sure to select the proper material options in Design Space. You’ll need that accurate to cut through the whole thickness of the leather.
Minimalist bathroom design is whatever YOU want it to be, provided it gives you open spaces and no clutter. It’s definitely not what we thought we wanted at first, but once the kitchen and lighting and paint was completed, we realized we had a theme we really enjoyed. If you like a lot of art work on the walls or you hang your jewelry or clothes around the bathroom, this may not be the look for you. But, if you enjoy a low-stress place to get ready for your day, give it a consideration. With just your Cricut and a few supplies, and a couple of trips to a dollar store, you can customize it all without spending a lot of money or time.
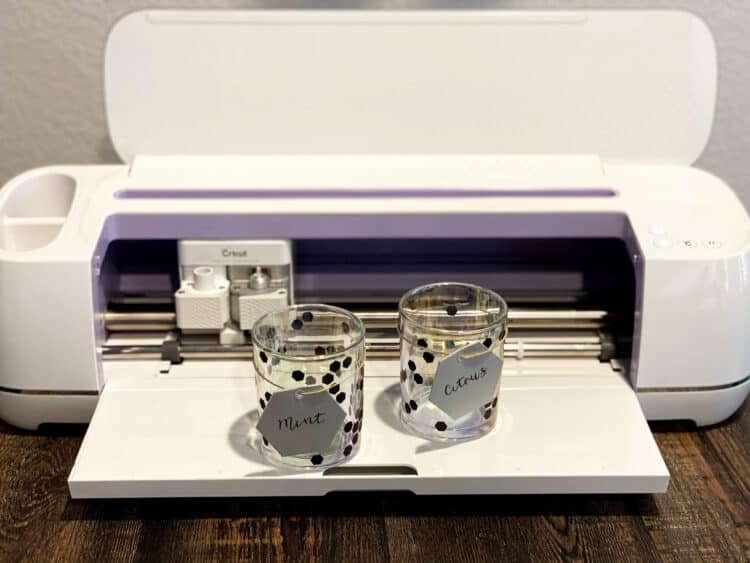
I used my Cricut Maker, which cuts leather, faux leather and a lot of other materials, but if you want to create tags with card stock (so you can easily just change them when you add new candles, or things like q-tips, etc.) that works great, too! The new Cricut Maker 3 uses smart materials, so you can even extend the length of your project beyond the typical 12″, so there really is no limit to what you can do!
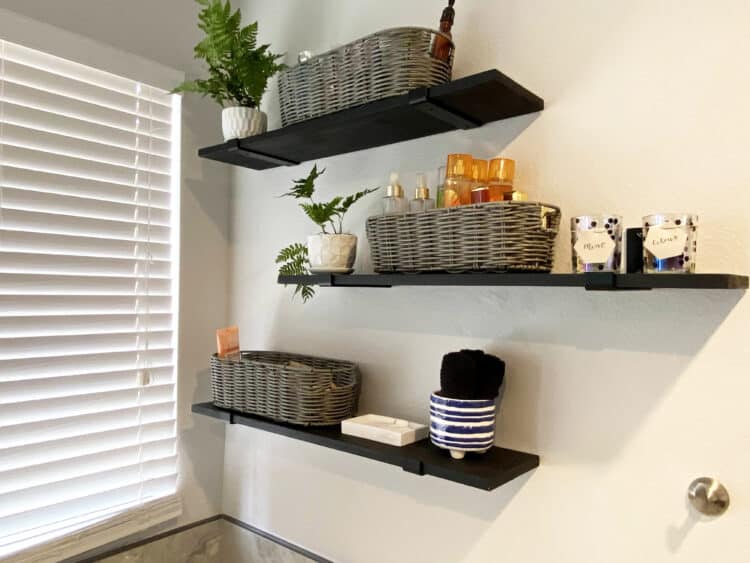
This isn’t the end of things I’m making for our bathrooms. My son’s bathroom (downstairs) is small but guests use it when we entertain. I have big plans for holiday decor, including seasonal candles, but since his bathroom is similar to ours, I don’t want to just throw in any colors. I’ll be making items to theme the bathroom for Halloween, fall, Christmas and more….including mirror decals using Cricut removable vinyl.
We’re also hosting our daughter’s baby shower here in a few weeks. She’s having a boy, and the theme is retro-surf (-ish) so I can’t wait to throw up a little random decor throughout the house. Why shop all over the internet when I can make it so easily myself?
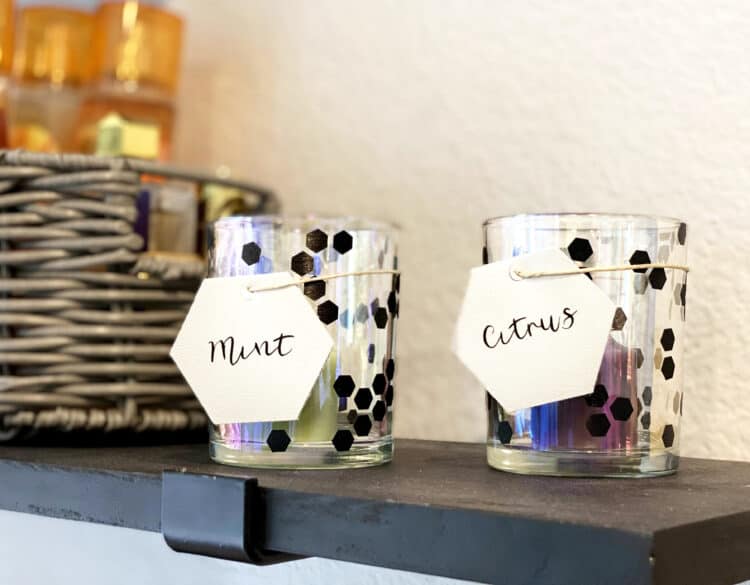
I hope my minimalist bathroom design crafts help inspire you to make some of your own! Let me know what you’re making, I’d love to hear!
Related Post: Best Kitchen Brands for Your New Kitchen Design

