Small Business Ideas to Organize a Home Office
As an entrepreneur, I’m always looking of small business ideas to organize my home office. During the recent renovation, I got all new furniture, shelves, lighting and more, so the last thing I want to do is clutter up my new space, but I also need to stay organized.
This post is sponsored by Cricut!
I’m not only a blogger, but I own and operate a small social media marketing agency. It took a hit during COVID, as so many businesses cut back their budgets or closed entirely. This new landscape has required me to make some changes, including new services, so I’m treating it like a low-key relaunch.
However, no relaunch is really low-key. I still have to write a new business plan. Change up my website. Improve my onboarding procedures. And I’m also learning. The list of certifications and classes I’m taking, or planning on taking, is long. Then there’s the marketing, and while that happens to be my specialty, it’s still quite a process.
As I do this, I find how much I appreciate my revamped office. I like having everything handy, having a lot of room on my desk to work and knowing where everything is, because not only do I work in there, but I craft there as well. I set up my Cricut Maker or Joy or one of my Cricut Easypress machines, open Design Space on my laptop or phone and get crafting. The small business ideas flow when everything’s so easily accessible and it’s not a lot of work to get started.
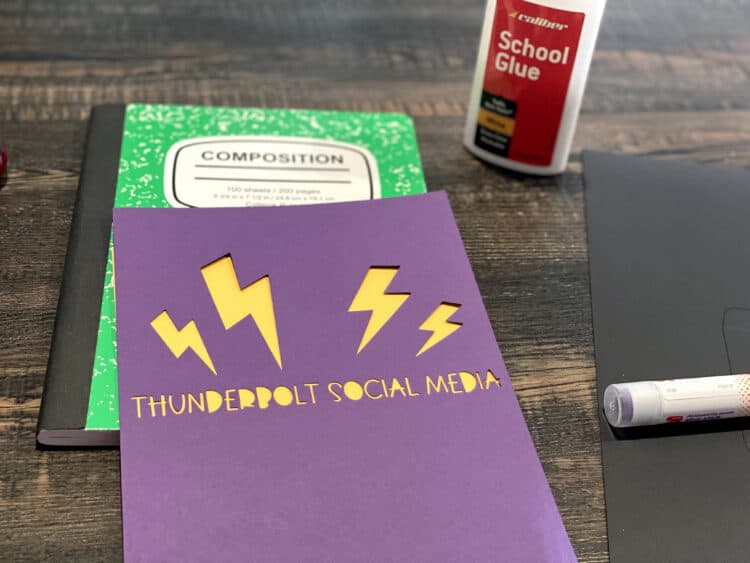
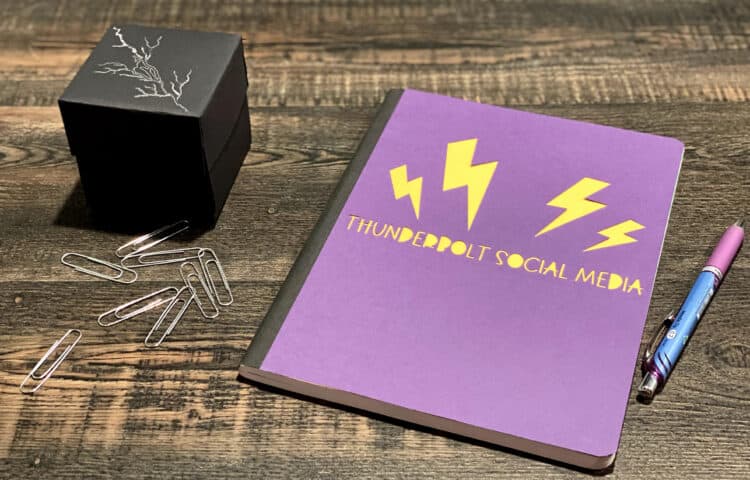
Last week, I pulled out my business plan notebook — a $.69 composition notebook from Target — at Starbucks, and I realized how woefully sad it looked for something as big as what I have planned. Motivation comes in a lot of ways, and I want my goals to smack me in the face, so I decided to create a new notebook cover for my very fancy school notebook, and I knew my Cricut Maker would make it easy.
While I had it out, I also wanted to make a Testimonial Box. It’s cheesy, but when I get a positive testimonial, I print it, fold it up and put it in the box. On a bad day, they are motivating and mood-boosting; on a good day, it makes me want to try harder to fill it up faster.
Have you ever had a testimonial box? You can make it out of a basket, a fish bowl, a coffee mug…whatever you want, but I prefer mine to not be see-through. I don’t need them to be available for others to read, and I’ve found that if I intentionally go to read them, they mean more.
Small business ideas to spiff up your office don’t need to be a big deal. They don’t need to be expensive or fancy; they just need to work for you, and you alone. Starting a business is already expensive, and you’ll have much bigger decisions to make than your decor. Have fun and save money where you can!
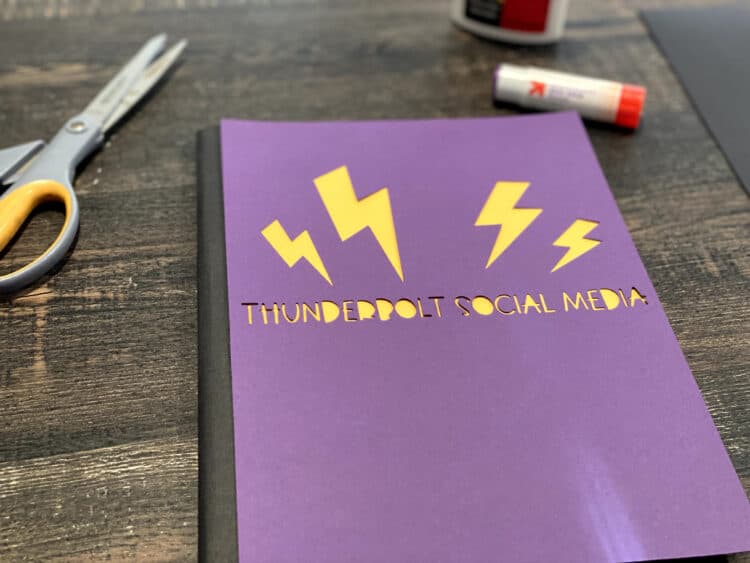
To decorate my silly notebook, I went old school: glue stick and cardstock. I opened Design Space and selected a large rectangle the size of the composition notebook cover. One of the hardest things I had to learn was placement of shapes and cuts on the mat. Since you can’t put objects directly on the edge of the mat, where the measurements start, you can move it to a space on the canvas that allows you to measure it properly.
Then, place the objects or texts you want cut, select them all, choose Attach, and you can move the object as one unit back to the edge in Design Space. This helps eliminate waste of your materials and you can add other objects to be cut around the mat if you need anything else cut out of the same material.
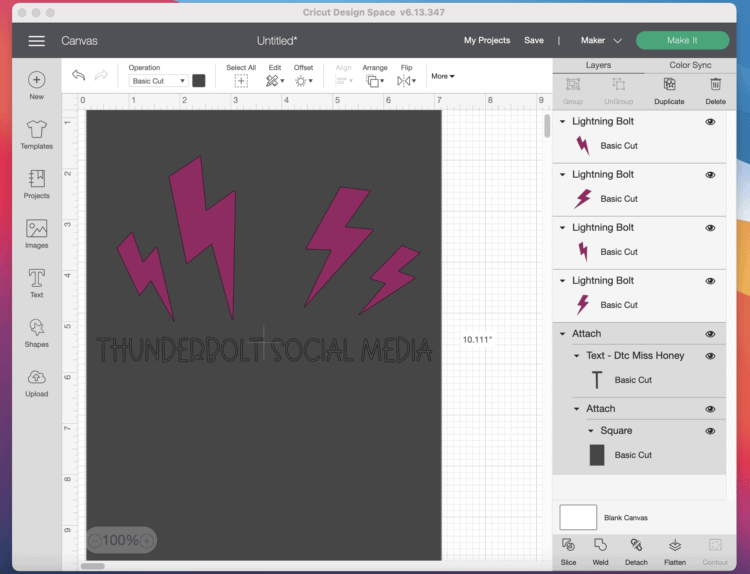
I choose to put my business name in the middle of the cover, and surround it with some lightning bolts, which are part of my logo. After I cut it out, I placed it on top of yellow cardstock, just big enough to fill the cuts, and glued them together so all of the shapes were filled in with yellow. I then glued it onto the notebook cover — like we probably all did in school at some point — to cover the entire front. Boom, a thunderbolt theme in under 10 minutes. (I did, however, let it sit face down on the desk for about 30 additional minutes to help the glue dry fully.)
The testimonial box was a little more tedious, but in a really fun way. It was like origami without actually knowing what I’m doing, and Cricut’s Design Space makes it so easy with the use of premade projects.
Click on New Project, then Projects, then search for “box” in the search field. There are so many choices, many with more details than the one I chose. I selected a box that had an ornate flower on the top, and I swapped out the existing shape (leaves) and put in my own (lightning). I wanted that to be done in a metallic material, so I chose Medium Foil in the Operation dropdown box above.
If you see a project you like, it’s so easy to change it up, even if you don’t know what you’re doing. Click on “Customize” before you click “Make It,” and you will have an editable project on the Design Space mat. This is a great way to learn more about Design Space and what your Cricut Maker or other machine can do! Click on an existing portion in the column on the right, and look at the options in the options bar on the top. See what has been selected and you can recreate it for your own additions.
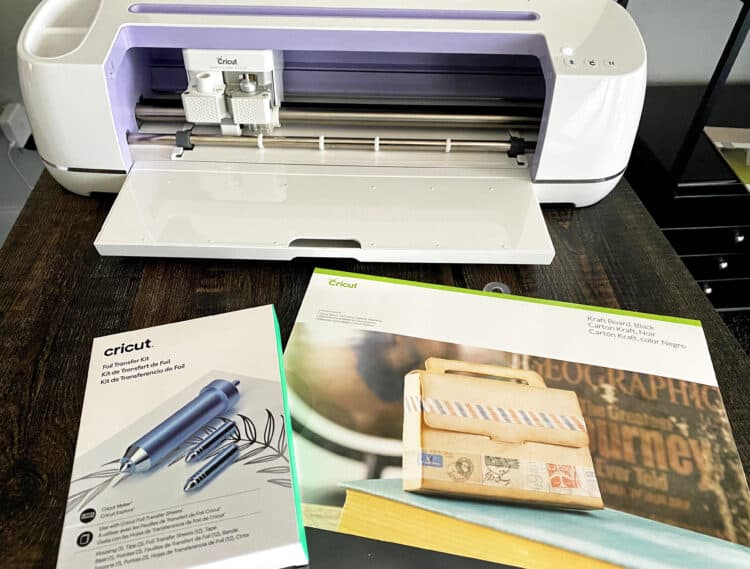
Once I had my customizations made, I loaded the mat with my Cricut Kraft Board, a heavy cardstock that will sustain the shape of a box. After you click through to start the project, Design Space will talk you through the process step-by-step.
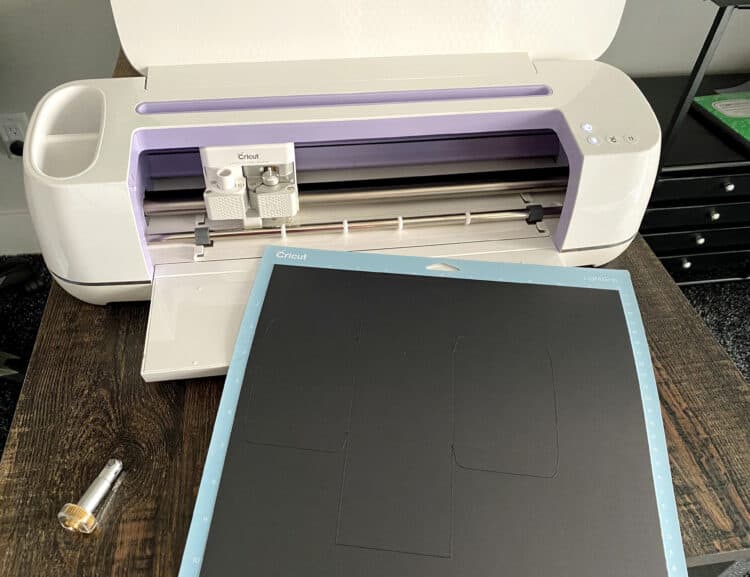
When you’re cutting and foiling on the same project, you will have to change the blade/tool. This project required three: a scoring tool, a cutting blade and the foil tool. Changing them out is SO simple though, especially using the quick swap housing, which is just pushing the end of the housing unit so the tip falls off. Snap on the other one and you’re good to go! (The foil tip is not a quick swap tip; you will need to remove the entire housing and replace it with the foil tip unit, which has three different size tips in it depending on your use, which you can select in Design Space.)

The box was easy though, despite the tool changes. Just don’t remove the mat from the machine until all the parts are complete, or you will end up with displaced metallic lines or parts that don’t get cut/scored.
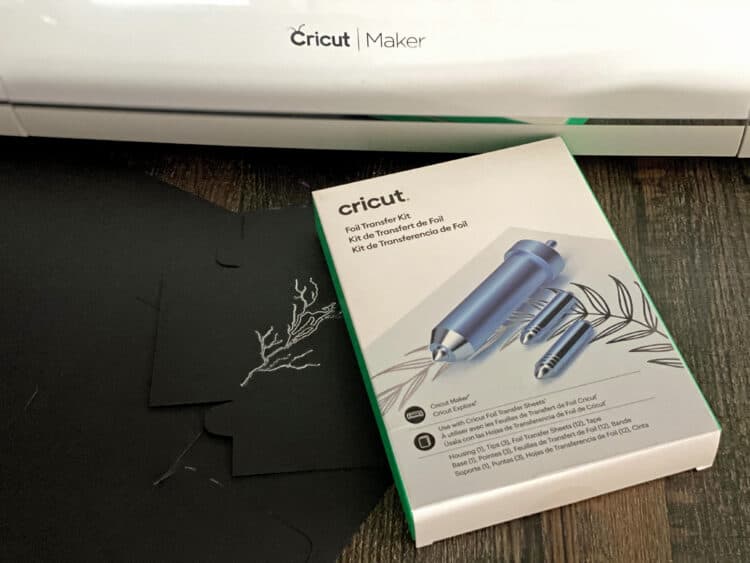
The Foil Transfer Kit includes everything you need, and is available HERE on the Cricut website.
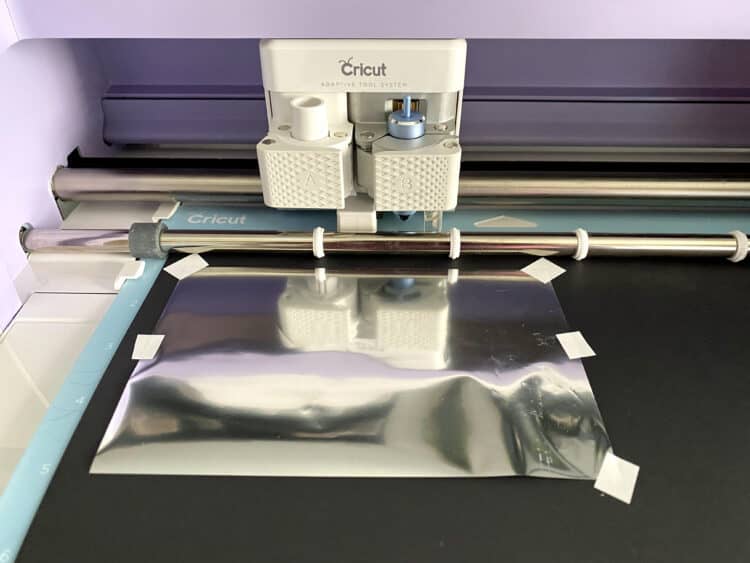
Also, when using the foil, be sure to pull it tautly when you tape it, and don’t skimp on the tape. The tape will pull at the material you tape it to, so be sure to tape it at the edge that isn’t part of the project. If you don’t use enough of the tape, the foil sheet may become loose during application and part of your project may not be foiled sufficiently. I say this because it happened to me! (Part of learning and writing to help share my tips is to share the good AND the bad.)
My foil sheet came off towards the end, and a small portion of the lightning bolt didn’t get completed. I could have redone the sheet, but I have metallic Cricut markers, and I used the silver one to fill in the gaps. You can’t even tell and I love the way it turned out.
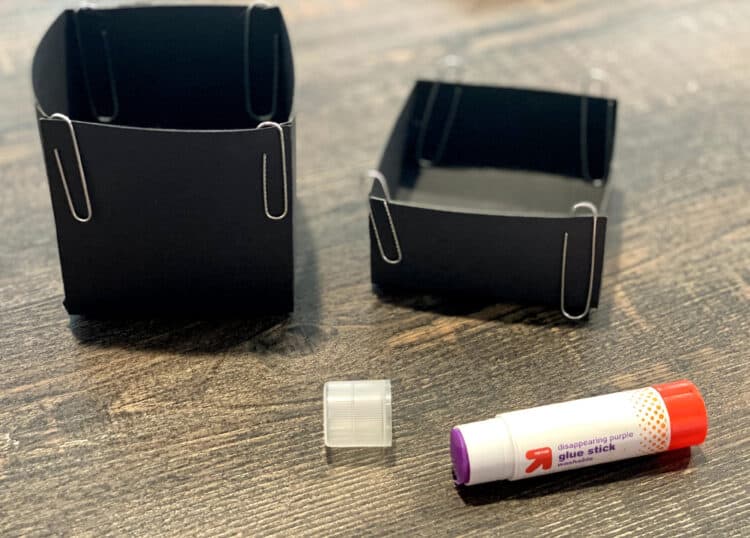
Assembling the box is easy, but you will need some glue. I also recommend some paper clips to help hold the pieces together while the glue dries. I used a glue stick because it dries faster and without any bleed. It wasn’t long before the glue was dry and the box was good to go.
I’m sure you’ve got a lot of small business ideas of your own! From business plan simplification to office decoration to accounting setup to project management to website design…well, you know the list is neverending. Be creative, think outside of the box (see what I did there?) and enjoy the possibilities!