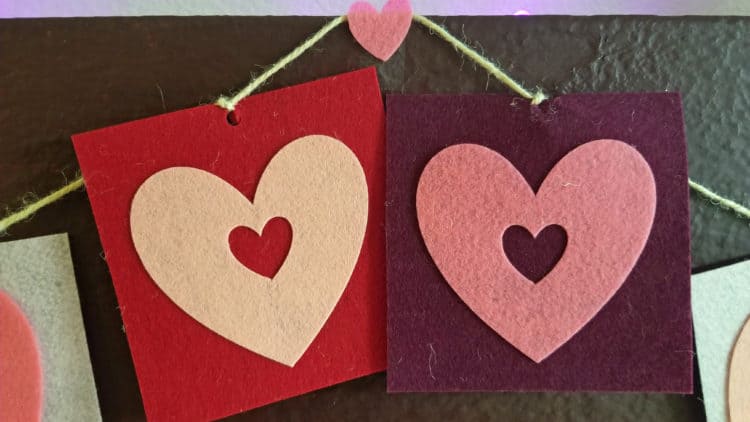
Easy Valentine’s Day Banner: Heart on a String
Looking for an easy Valentine’s Day banner to hang in your home, office or classroom? I made this fun heart banner that I call “Heart on a String” on my new Cricut Maker in less than 90 minutes!
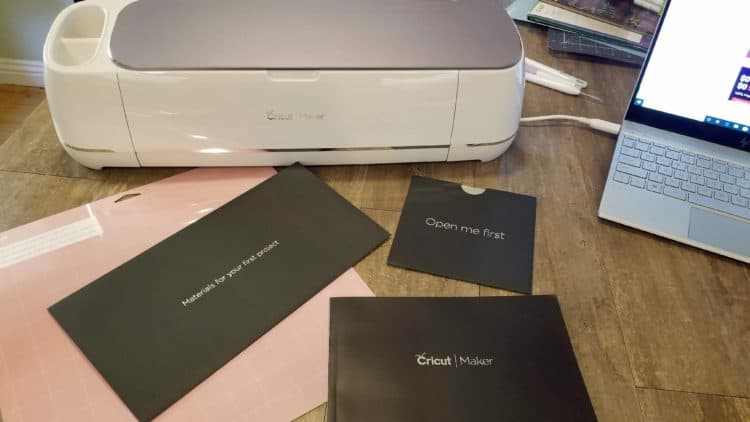
This heart banner is my first project using my Cricut Maker. The Cricut Maker is similar to an Explore Air 2, but it cuts more materials. With the Maker, I can cut 300 types of materials, like balsa wood, basswood, leather, cardboard, fabric and more. You can also score and emboss, in addition to the regular cutting, writing and drawing that the Explore Air 2 does. The possibilities of things you can do with a Cricut Maker are endless!
Initial set-up and use of any Cricut cutting machine can be intimidating, but don’t let it stop you. I’ve heard many people comment that when they get their machine home, they leave it in a box for a while. If that’s you, bust it out! Put it on a flat surface, plug it in, attach it to your computer and GO FOR IT. Cricut also includes a first project to learn with, so you’ve got a lot of help available!
Head over to my first Cricut blog post here for tips on being a Cricut newbie. I promise, with each project you attempt, you learn more. What you don’t know you can research on the Cricut.com website or Google for tutorials, videos and more by faithful Cricut users.
This Valentine’s Day banner is made out of felt, and I learned that while you can use the fine point blade (which comes pre-installed in both the Cricut Explore Air 2 and Cricut Maker), the rotary blade can cut felt even better. For a second I hesitated: should I just try it with the fine point blade rather than change out the blade?
Then I realized how lame that sounded and I watched a 40-second video on how to swap out the fine point for the rotary blade. It’s so easy!
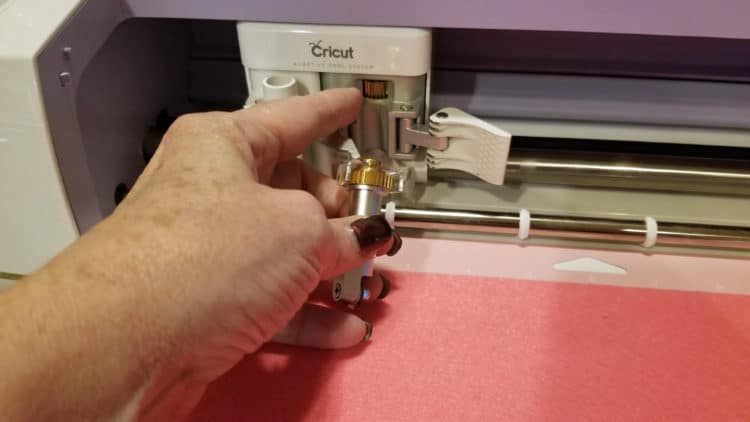
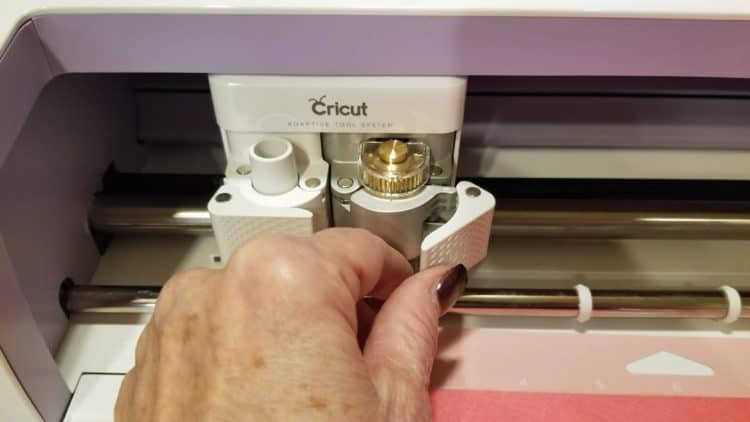
Literally open the “b” clamp, remove the fine point, swap in the rotary blade with the gear on the blade facing the gear on the machine…
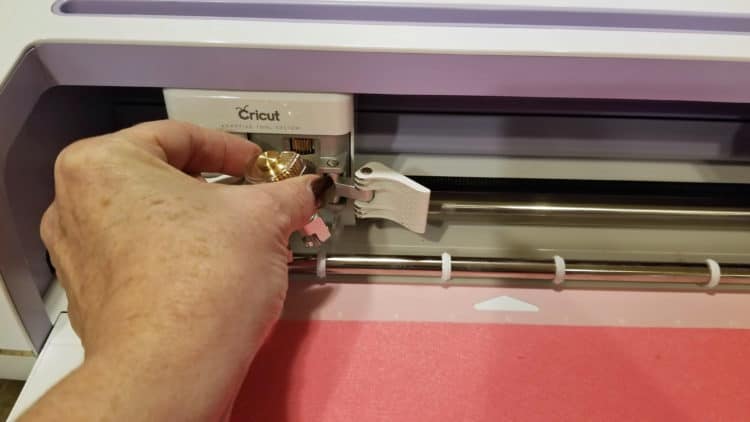
Close the clamp back and boom, done.
There’s also a calibration option in the left side of Design Space, but I’ll confess that I didn’t do it before I used it. I did, however, run a test sheet of white cardstock through the machine before I cut out my felt. I only had the exact number of felt sheets that I needed and I didn’t want to risk making a rookie mistake.
Let’s go on with the directions on my Valentine’s Day Banner, or “Heart on a String!”
Valentine’s Day Banner Supplies Needed
- Five 12″ x 12″ sheets of felt in shades of red, pink and burgundy
- 8-10′ of twine
- Fabric glue
Equipment Used to Make Banner
- Cricut Maker
- Fabric mat
- Cricut tool to remove felt from mat
- Hole punch
- Design Space on laptop or mobile device (iOS or Android)
Open Design Space on your laptop or device. I used it on my laptop, running Windows 10, so my screenshots are based on that connection. Open a new project.
Select “Shapes” on the bottom left and choose the heart. Place it on your project canvas and resize so you can fit three hearts across the 12″ x 12″ page. (My hearts were a slight bit under 4″ across.)

Duplicate the first heart and continue to place it on the canvas until you have two rows of three hearts.
Then select a heart again, and resize it to approx. 1″; duplicate it repeatedly until each of your six larger hearts has a heart-shaped center.
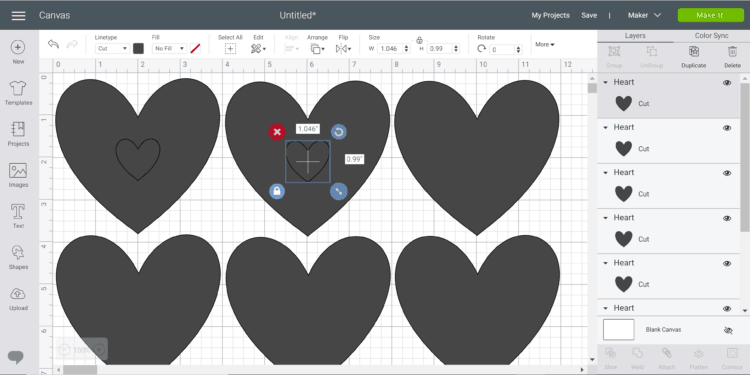
This is where you’ll need to use the Slice option. This essentially means the Maker will cut a whole of the second shape inside the first shape.
Once you’ve placed the hearts, hold down Shift and drag your mouse to select both shapes. (It also works if you at least get part of each of the inside and outer hearts.) Click on Slice towards the bottom right. This cuts a heart-shaped hole inside each of your hearts.
I’m not sure of the reasoning behind it, but bear in mind that this adds an extra step and extra shapes to your canvas. You can see them in the list to the right; delete those you don’t need by right-clicking and you’re good to go. (If you don’t catch it at this stage, when you click “Make It” and see the canvas layout, you’ll see those extra shapes then. You can go back and delete and try again without worry.)
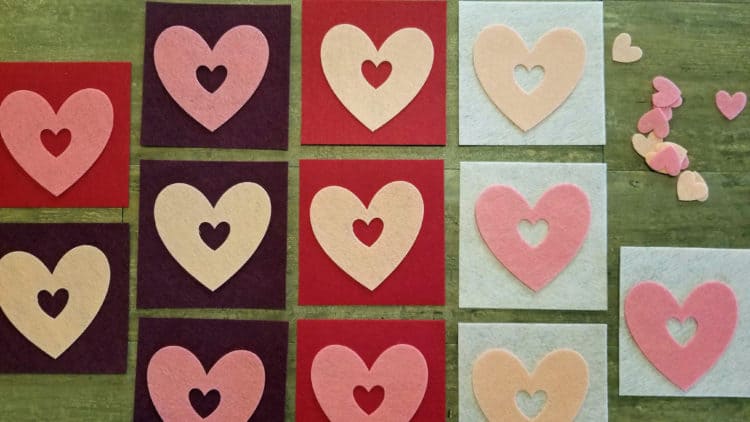
Essentially, I ended up with six big hearts with heart-shaped holes and 12 more tiny hearts. I deleted all the extra hearts and only cut the six that I needed, but I almost let it cut everything because I could have used the extra hearts in some way.
When you go to cut the project, or click “Make It,” you’ll need to select the proper material; when you click the drop-down to the upper-right of “Materials,” you’ll select Felt.
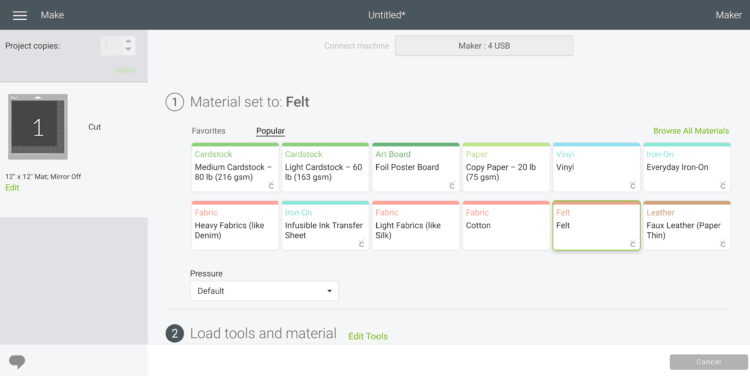
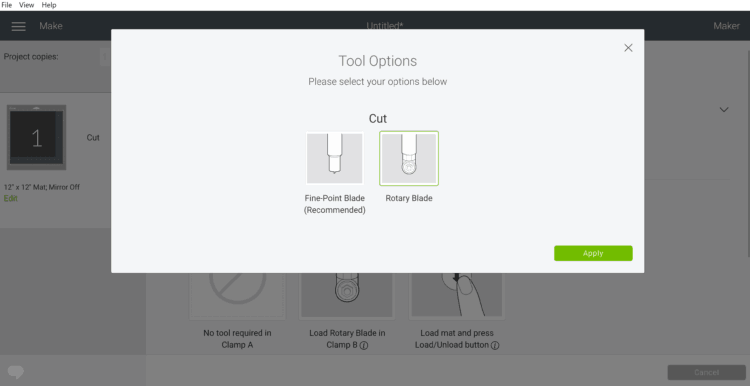
Then, provided you changed to the rotary blade as I did, you’ll click to edit tools. Select Rotary Blade and then you can continue the cutting process by loading your mat and clicking the flashing C to cut.
Repeat this process with a freshly loaded mat with a different color felt, so you will end up with 12 big hearts.
The rotary blade does a stellar job of cutting through the felt, but you don’t necessarily see it until you unload the mat. I initially thought it wasn’t cutting and unloaded the mat only to have to start it over because it was totally fine! I should have just let it finish to save time, but because I didn’t touch the mat or felt, it recut on the exact same lines as required.
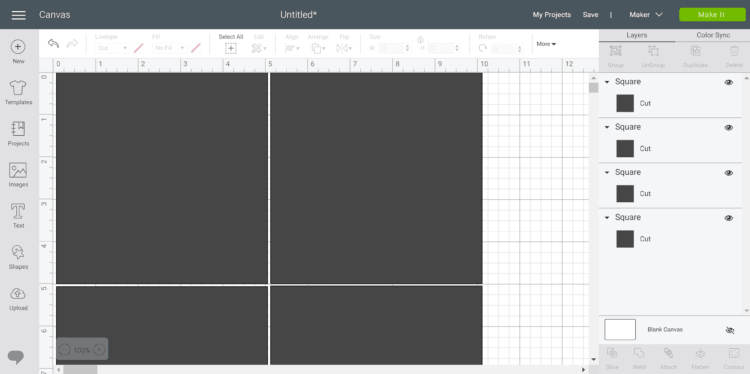
Close out that mat, and create a new blank one. Select “Shapes” again, and choose a square. Lay out two rows of two 5″ squares. You can place them right next to each other and the machine will cut them cleanly apart. Do this three times, with a different color of felt each time. You will end up with 12 squares.
Choose your own preference of layout, but you’ll place each large heart on a square. You can center them, place them on an angle, add the small hearts, whatever you like. Use the fabric glue to attach the hearts to the squares. Be sure to alternate your colors so the background square is always a contrasting color from the heart.
Once the glue has dried, punch a small hole in the top center of each square. Using the twine, begin attaching the squares approximately every 8-10″; if you want it longer, just adjust your twine length. (I recommend knotting the twine on each square so they don’t slide.)
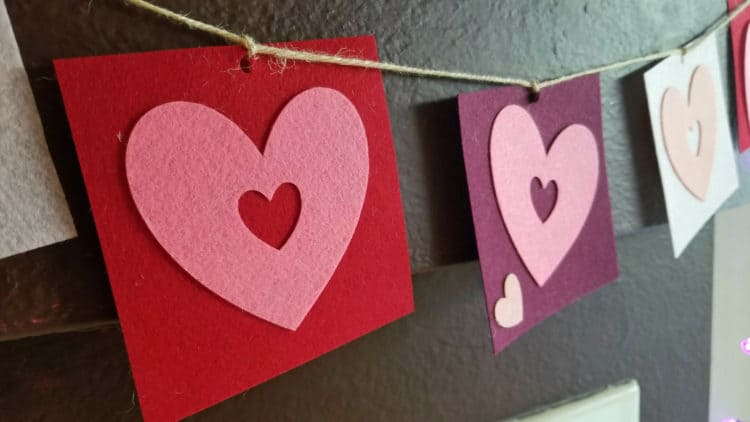
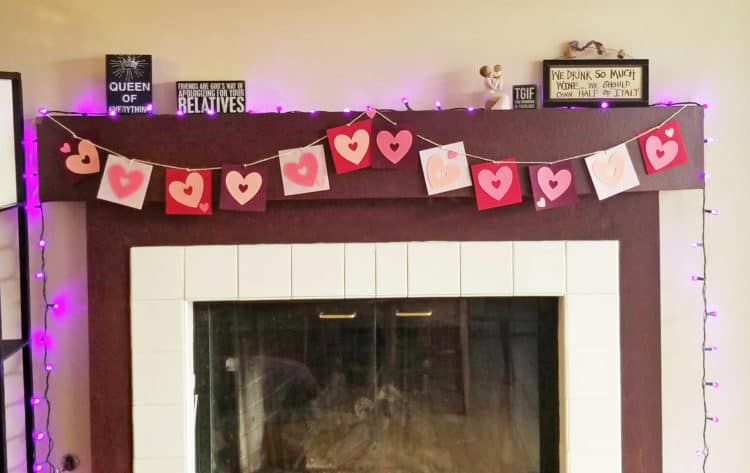
Hang your Valentine’s Day banner and enjoy your ‘heart on a string!’
Happy Valentine’s Day!