How to Build a Pallet Garden for Herbs or Micro Greens
Cooking with herbs is such a great way to flavor your food, and fresh is best, but finding space to plant everything you want can be tough. Herbs can also be a little more delicate than the traditional garden plant, so they can’t just go wherever you have space left. If you are space-challenged, there are still options, so we came up with something we’ve never tried before. I’m sharing how to build a pallet garden so you can grow all the herbs or micro-greens that you want.
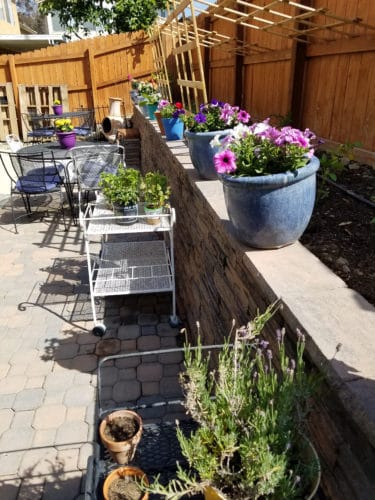
My house is pretty large, but the lot that we’re on is only 4700 square feet. On one hand, it has hindered the size of parties we’d hold out back or some home improvement options — like a pool — but on the other, our yard maintenance is minimal and we don’t spend a lot to water the yard. It also means we had to get a little creative when we designed our backyard landscaping plans to fit in as much gardening space as possible, while still leaving room for flower pots, the barbecue, tables, covered patio section and a future pizza oven corner. We can still rock a good party, barbecue while lounging in the sun or the shade and the orange tree was left untouched, and our vegetable garden is going to feed us well in a couple of months. To fit it all in, we planned on at least two pallet gardens — one for herbs and one for greens — for vertical raised gardening that can be moved around if necessary and can be watered quickly and inexpensively, taking advantage of the trickle-down effect. Here’s how we built them.
How to Build a Pallet Garden
Materials
- One pallet for each garden
- One large roll of landscape paper
- Staple gun and a good amount of staples
- Loose dirt (we bought bags of organic soil at Lowe’s for $10.99 per bag, but there are many to choose from)
- Plants
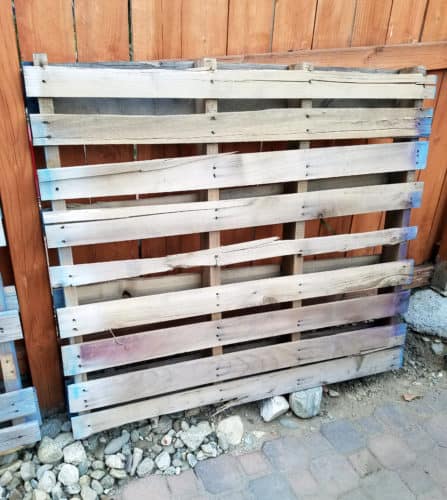
Stand the pallet on end with the boards on each side perpendicular to the ground; these divide the pallet into three sections with walls.
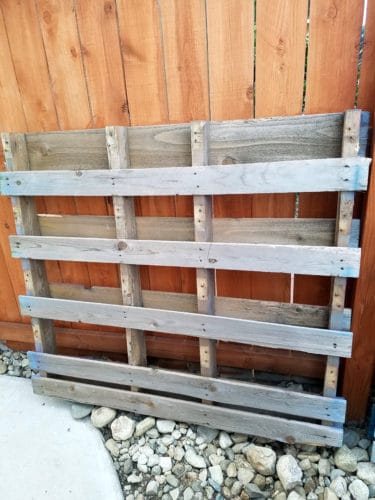
Remove every other board so you are left with four rows to use as planters.
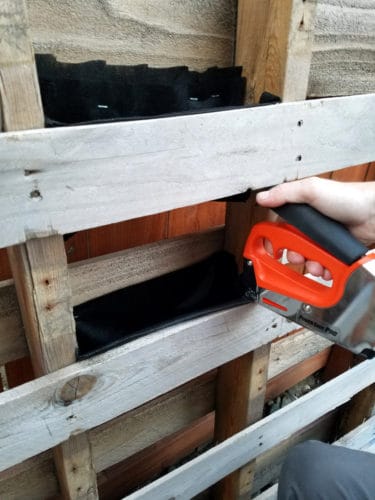
Measure the width and length of landscaping paper you’ll need for each ‘trough.’ We folded ours in half to double it, and it goes from the top of the board in the front to approximately 5″ depth, and of course meets the same height on the back as the front. We also cut out all the pieces at once — after making sure it fit properly, by testing it on the first row. Staple them in place. (We bought the paper at Lowe’s and it ran $9.98 per roll.)
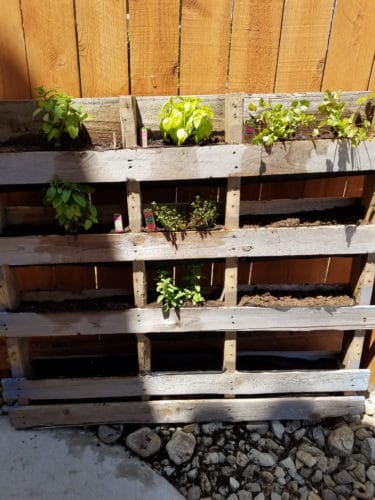
We trimmed the paper a bit just for looks and filled them each with the organic dirt, leaving a gap or two in each, depending on how many plants were going in each row.
Easy and fast! I’ve been asked if I wasn’t worried about the height of the plants being squished, but I chose only one plant that had any real height requirement, which is a basil plant. The rest of the plants will grow around the obstacles, aka the roof of each trough, and grow sideways. If you are concerned about that being a problem with the type of plants you choose, you can remove one less board and create only three rows in the pallet so they are taller.
My pallet garden has been growing for just a week now and it looks fantastic! I water daily, starting with the top row so the water drips down to the rows below. When the summer heat here in California gets too intense, we can move the pallets to an area that provides more shade. As for the rest of our garden? It’s thriving, too!
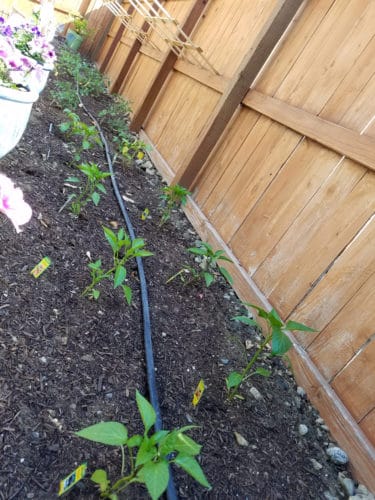
We planted eight tomato plants, eight pepper plants, two tomatillos, four zucchini and five butternut squash. The peppers range from mild jalapenos to a few various types of bells and chili peppers and there are three different kinds of tomatoes. Salsa will be coming out of our ears, along with zucchini bread, fried zucchini and so many other things I’ve got planned. Freezing, canning, you name it, it’s going to happen!
If you want to garden, don’t let space stop you! Build a pallet garden and enjoy fresh herbs or a quick salad for dinner, with no worry of pesticides or anything else you don’t want on your food. Gardening is also at the top of the list of relaxing activities, so have fun!

