EasyPress 2: Perfect for the Newbie Cricut Crafter
This is a sponsored conversation written by me on behalf of Cricut. The opinions and text are all mine.
Are you a newbie Cricut crafter? Considering taking the leap to try it because you want to make iron-on personalized t-shirts, shoes, bags and all the rest? Now’s the time, because the Cricut EasyPress 2 really is EASY to use!
I’ve been crafting for a long time, but admittedly, some of my supplies are a little dusty. I tend to get in over my head sometimes, but I think that’s a thing of the past. I want to Cricut ALL THE THINGS and the machine has a permanent space on a table in my office. Next to it sits my 12 x 12 Cricut EasyPress 2, ready to create my next project. Now that I got my first one behind me, I’m over the hesitancy and making plans for an entire army of holiday crafts.
I finished my first iron-on project last week. I had the perfect excuse, the need to make my daughter’s bride t-shirt. You know, one of those t-shirts that says “I’m the bride!” or something more personalized for a bachelorette party or wedding dress shopping day. My daughter got married last weekend, after a whirlwind week of prep because they decided last-minute to get married on their fifth anniversary together. I didn’t want her to miss out on some of the little things, so I busted out a t-shirt.
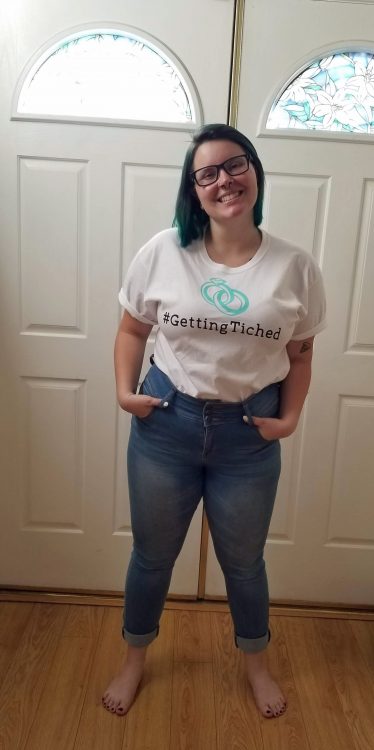
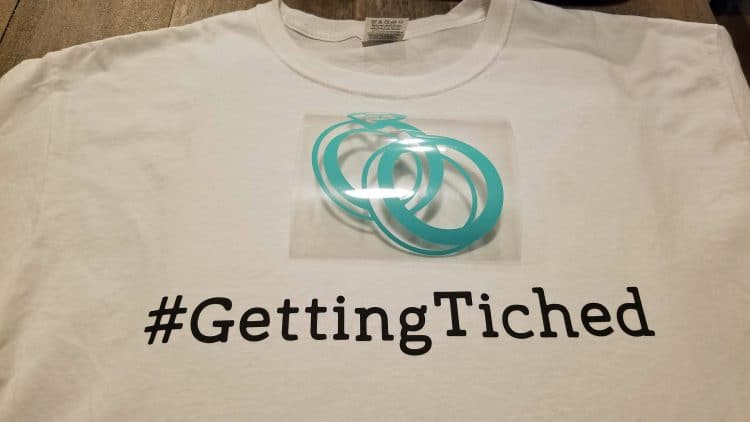
Looking through Cricut’s Design Space, at Cricut’s website, I found a lot of images available to use, and I settled on one of intertwined wedding rings. Using her wedding colors, I created it on Premium iron-on vinyl. Then came the text to go below the graphic. To make it unique to her, I chose to print out her hashtag. Her fiance’s last name includes the letters “tich,” which rhyme with “hitch,” so their hashtag was #GettingTiched. Pretty genius, right?
Here is the end result. I love how it turned out!
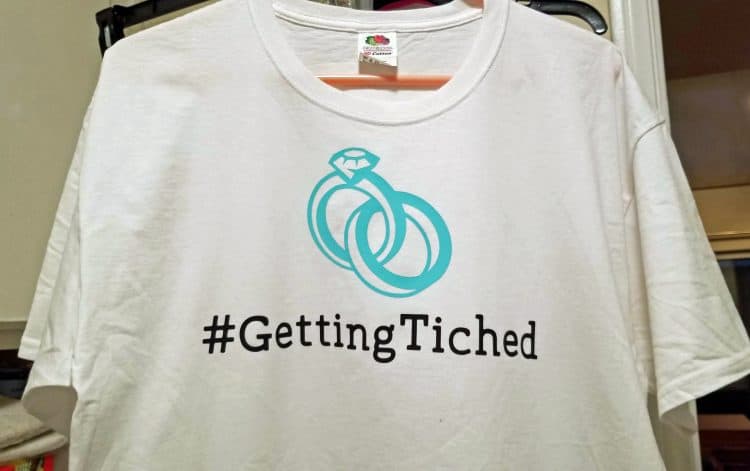
Using the EasyPress 2 was easy for this newbie Cricut crafter. I had already made a few vinyl projects, so I was familiar enough with the Cricut Explore Air 2 and Design Space, but I’ve never done an iron-on shirt before outside of old school with an actual iron years ago. Oh how far we’ve come! The EasyPress 2 has simplified it so much, once you use it one time, you’ll be wearing themed t-shirts every time you leave the house and every coffee cup will be personalized. You’ll also have every gift for everyone in the future on lock.
The process of using the EasyPress 2 is so simple! Plug it in, place it in its insulated base on a sturdy table and set up your t-shirt or item you’ll be ironing on the Cricut mat.
Turn on the EasyPress, let it reach its temperature and give your item a 3-5 second press to remove any moisture and wrinkles. Then select the temp and timer. Click the button, place the EasyPress 2 over your designs, and go for it with! Your biggest stress will be ensuring your item is centered and/or straight…and that’s not even a concern necessarily with some designs!
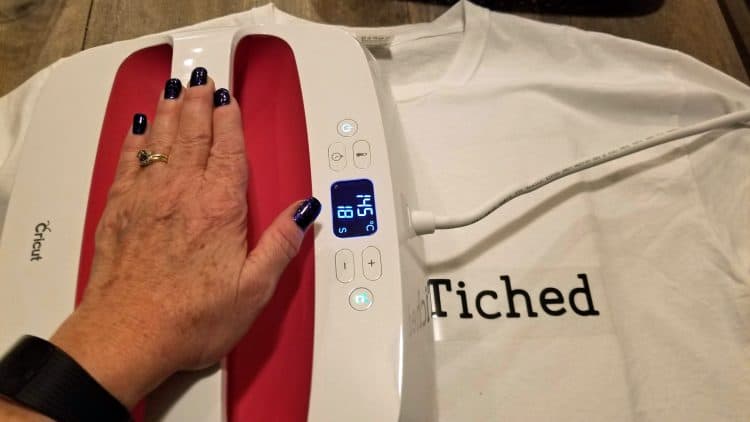
You can also find tutorials on the Cricut website, or a lot of user tutorials, that will help you learn the proper placement for text and other items. For my daughter’s t-shirt, I did a little research, then held it up on my own chest to give it the last once over since I was a newbie. The online guides were right! I did have to press the text in two batches as it was 12″ wide, and while the press is 12″ square, I wanted to allow for some overlap rather than risk missing a bit.
You’ll also need to flip your item over and give the back a quick press, but the full directions and list of steps are available on the Cricut.com website as well as in the instructional materials. I ran into no issues at all and my decals laid flat on the t-shirt without any problems, though I did do a second press on the front because the vinyl film wouldn’t peel off gently the first time when it cooled off. As you can see, the t-shirt came out great!
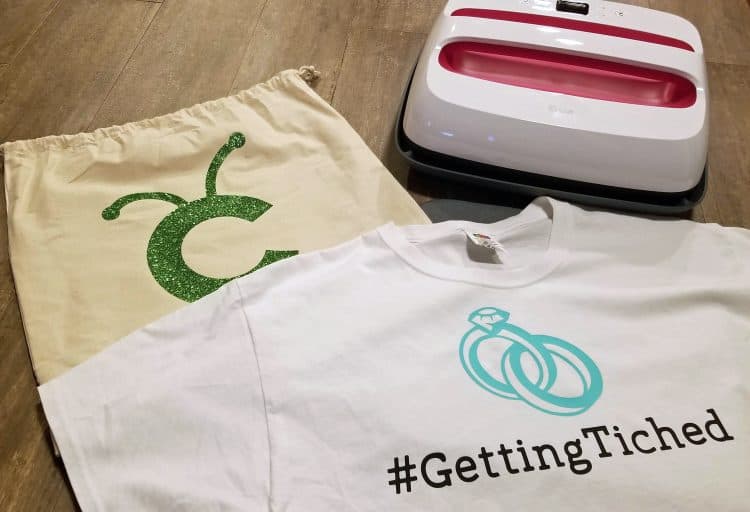
And the bag there behind the shirt? That’s the test project that comes with the 12 x 12 EasyPress 2!
A friend of mine swears by her bar-top table for using her EasyPress, but my table is a little lower. I am not a tall person so I wanted to be able to see over the project entirely. Just make sure the table is sturdy so you get an even press. That’s where the Cricut EasyPress 2 excels over any other options, as the heat plate evenly distributes heat so you have no worries about one area adhering faster or better than any other.
T-shirts, totes and onesies are all available on the Cricut website too, but I did buy a few over at the local craft store. I got them on a really cool holiday sale for $2.50 each, so I can experiment and learn without ruining a more quality t-shirt. I want to try making a pair of personalized tennis shoes and the new Cricut EasyPress Mini™ would be the perfect tool for that.
Storage for all my equipment was a bit of a concern initially. My craft room doubles as my social media business office, but the EasyPress comes with its own storage bag. My 12 x 12 press sits on a shelf in an armoire in my office on its end so it isn’t a space hog, and my 9 x 9 sits right next to it on the same shelf.
Depending on what type of projects you’ll be doing, you may want different sizes of mats. Baby onesies have a lot of weird seams, so the tiniest mat is good to have so you are getting an even press around those seams. (And a small EasyPress 2 works good for those too, but you can use a bigger size.)
Best of all, it’s a great time of year to be a newbie Cricut crafter! You can gift everyone with personalized items, create holiday cards, gift tags, wall decor, Christmas tree ornaments and more…and there are sales coming.
Free Shipping to U.S. and Canada on Orders of $99 or More. Use code NOVSHIP.
My next project is a Christmas pillow and some really cool Marvel-inspired t-shirts…or maybe I’ll just make one that says “COOL NEWBIE CRICUT CRAFTER” on it, since a lot of met each other in the Cricut aisle at the craft store last week. It’s a great way to make friends apparently.
Craft on!

