Custom Birthday Party Banner and T-Shirts with the Cricut Maker
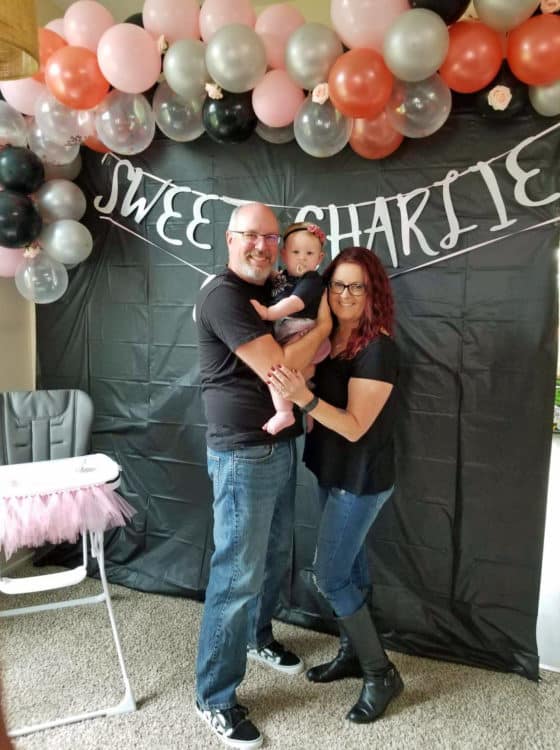
The week before quarantine started, my beautiful grandbaby turned one year old. My daughter had planned a big party with a unique and fitting theme, and we were lucky we were still able to hold it. Work was crazy due to early concerns with the virus but I still had time to make a custom birthday party banner and themed t-shirts with the Cricut Maker.
Because my job kept me busy, I had to wait until last-minute to create the party banner and the t-shirts. That doesn’t mean it was difficult though, because the Cricut Maker and the Design Space software are easy enough to knock out crafts on the fly and without a lot of experience.
I’m a Cricut Ambassador, which means this post is sponsored by Cricut. You can learn more about their fun craft equipment and accessories over at the Cricut.com website!
This post isn’t really a tutorial, but instead, an inspiration. While we’re all quarantined in our homes, people are still celebrating birthdays, anniversaries and other important news. Deliveries aren’t as quick as they used to be, and things are more expensive. A lot of people are also dealing with a loss of income and ordering a custom birthday party banner may be out of the budget. If you already have a Cricut Maker, you can make the banner yourself for way less.
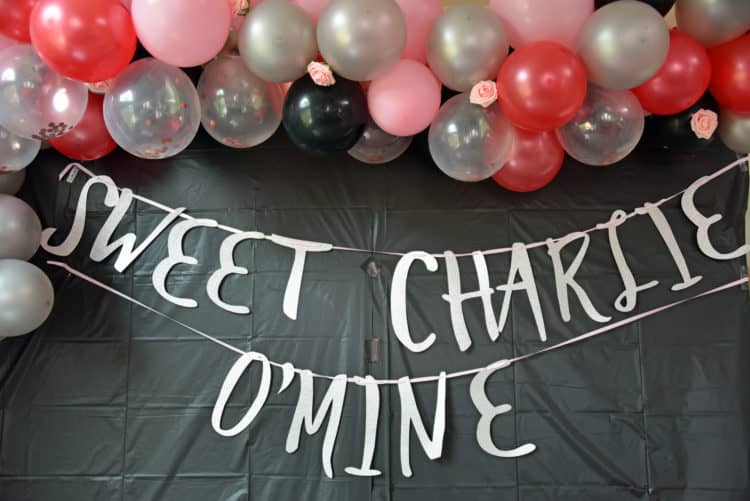
My grandbaby’s birthday party was based on a Ones ‘n Roses theme…inspired by the Guns n Roses song, “Sweet Child O’Mine.” The colors were pink, silver and black. Her dad, my son-in-law, hand-drew a play on the logo and I ordered printable iron-on paper so I could make a t-shirt for the baby, her mom and her dad. (You can order the paper in multiple places, but I ordered this on Amazon. The t-shirts are black and there is paper specifically made for dark fabric shirts. The cool thing with that paper is that there’s no need to flip the image. Literally print, cut it out and iron on with the Cricut EasyPress. It took me less than 30 minutes to make all three!)
Like I said, this isn’t a tutorial, so I don’t have steps but I wanted to encourage you to be creative. If you have a theme in mind, open up Design Space and browse. The variety of fonts and images will surprise you. If you don’t have a theme in mind, let it give you ideas!
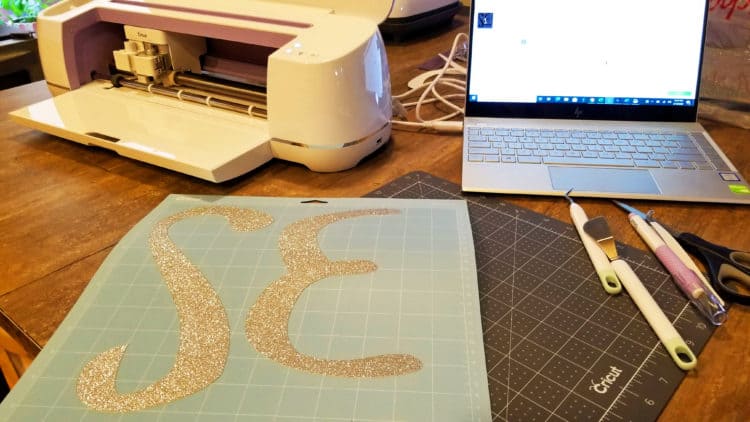
My daughter already had a banner that permanently hung in her home and she wanted to match it if possible. I came pretty close to the font and using silver glitter cardstock totally fit her colors. (Be sure to select the proper materials selection in Design Space. The Cricut Maker choice is made digitally, and there are so many options because the Maker cuts over 100 types of materials!)
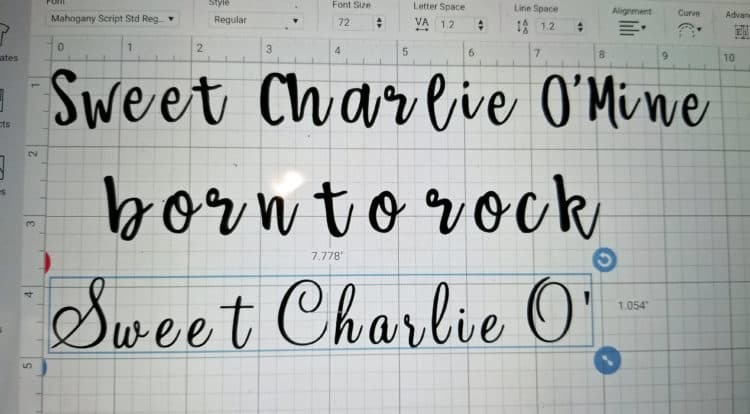
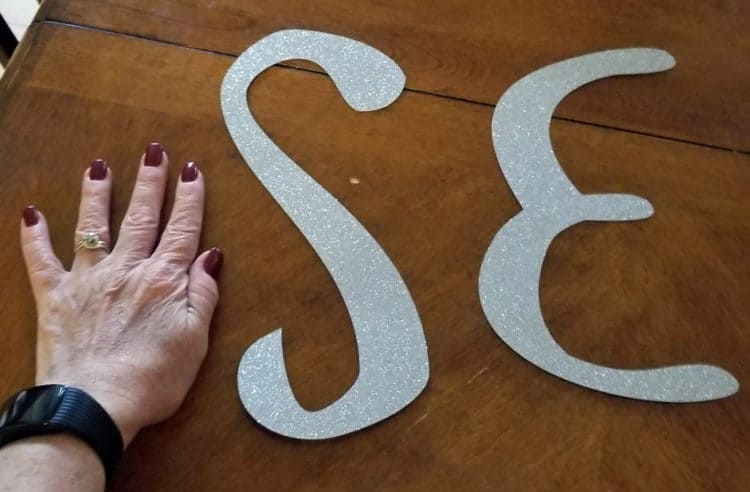
After choosing the font, I arranged two letters as big as possible on each canvas in Design Space. It took nine sheets of cardstock in total. Be sure to look at each canvas before sending to the Cricut Maker to cut.
If one of your letters (or images) is too close to an edge, just a little too big, the software will separate it onto its own page. If you’ve only got so many pieces of cardstock, that can be a problem. If the images fit on the canvas in Design Space but separate, you can ‘attach’ them by selecting both with the cursor/square. Boom, problem solved!
After cutting, use a hole punch. I recommend two holes per letter, so they hang more evenly, then thread with ribbon, starting at the last letter and working forward. My letters were so big, I had to break it into two sections. I strung the letters onto the ribbon at my daughter’s house so there was no tangling in transit. (It happened even as I was stringing, so it’s not foolproof but still doesn’t take long.)
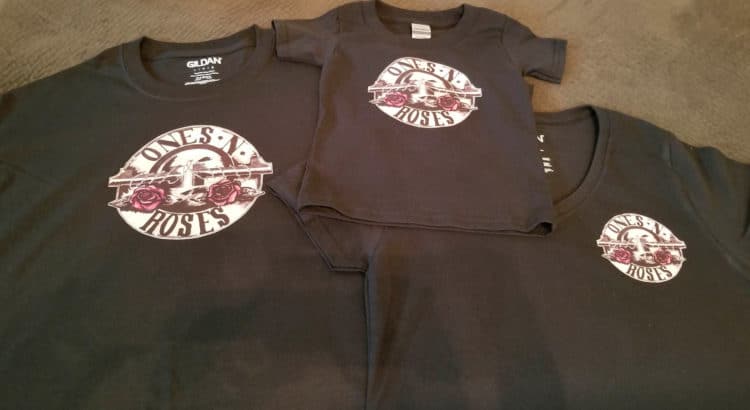
The t-shirts were also simple! I ordered printable iron-on sheets (five per package) on Amazon. In Photoshop, I cleaned up the logo and moved it to a clean page in Microsoft Word. Turning on the ruler option allowed me to see how big it was. I’d measured how big I wanted it for each of the three t-shirts, so I sized it in Microsoft Word and then printed. I was able to get the baby’s t-shirt logo and my daughter’s on one sheet. (My daughter had a v-neck shirt so her logo was smaller than her husband’s, whose fit the whole front of his shirt.)
Cut the logo out closely to its edge, pre-heat the Cricut EasyPress, and lay your Cricut EasyPress mat on a solid surface. Once it was heated up, I pressed each t-shirt briefly to get out any irons. (I will admit that the shirts hadn’t been pre-washed, which they do suggest. I didn’t see that in time.) Peel the backing off of the logo, place on the shirt where you want it (it is NOT sticky, so you can move at will) and when you’ve got it where you want it, cover with the included piece of tissue paper and press. I used the 335 degrees setting for 30 seconds. (The iron-on package has all these directions on it, including for using a heat press.)
Let cool a bit until the tissue paper easily comes away and let cool completely. It’s SO easy!
For fun, I looked at a custom birthday party banner or two on Etsy. First, I was amazed at all the talent out there! Second, I saw some good prices, but it’s still so much more affordable to make your own. It took me less than an hour total to make it, and another 10 minutes or so to string it together. Since it includes her name, she can re-use that part if she ever chose to, hang up for another event, or throw it away and know it only cost about $10.
If you’re new to using a Cricut machine, head over to my post about the basics of using your new Cricut. That first cut is the hardest, but seriously, one page and you’ll be hooked. Head over to Cricut.com to look at the differences between the Cricut Explore Air 2, Cricut Maker and their latest toy, I mean machine, the Cricut Joy. (I’ll have a post up soon about the Cricut Joy, a machine you can leave sitting on the counter for on-the-fly projects!)
Being stuck at home is hard, and crafting can be stress-relieving. I work in an industry that is still working…at home…and most of the family is home, so I actually have less spare time than I used to. I got partway through another Maker craft (think jewelry) but had to put everything away to bake cookies. I hope to finish that in the next few days so I can share a fun tutorial that uses basswood and either faux leather or some of my jewelry-making beads. Keep an eye out here on the blog for that post!
Please stay safe during this trying time!