Just Say Cheese: Easy Cheese Board Assembly Tips
Earlier this week, I got to spend two glorious hours surrounded by one of my favorite things ever: cheese. Thanks to Melissa’s Produce, who hosted a free demo for food bloggers and writers, we were taught by Shelia Doloukhanian of CheesetoTable.com, a leader in easy cheese board creation. This may have been my most fun Melissa’s Produce event yet!
When I say “easy cheese board,” I mean it. When we go to parties and see elaborate spreads with pretty folds of deli meats and clean cut cheeses, we may think it’s difficult, but in reality, it’s like art. A little of this, a little of that, and before you know it, you have a ginormous cheese board ready to serve your guests with the bonus of having a good time creating it!
On Christmas Eve, I put together a charcuterie tray for 12 people. We got a kick out of saying “we’re having charcuterie,” but in reality, it was a fancy cheese board. Seven cheeses, six fruits, four deli meats, dried fruits, nuts, crackers and more, it was a crazy mix of snack foods that kept everyone munching and talking for hours. It was my first big tray and I was proud that it was successful.
Little did I know how much I had to learn though! Listening to Shelia talk about cheese boards, I felt both inadequate and inspired. Like she said, there is no wrong way to create a board, but I knew that there was for sure a more right way to do it, and hers was it.
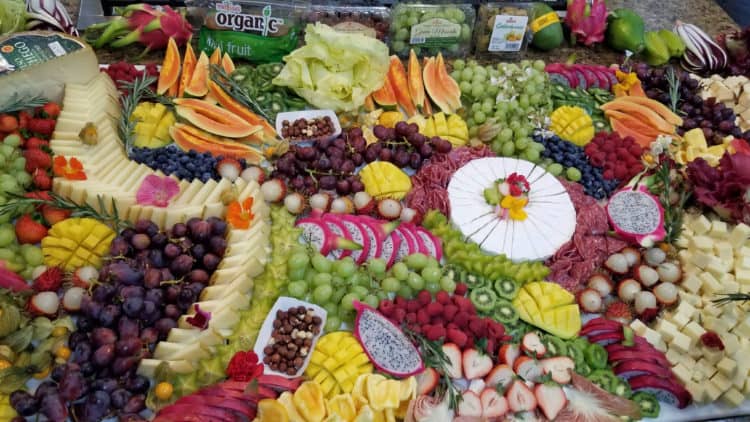
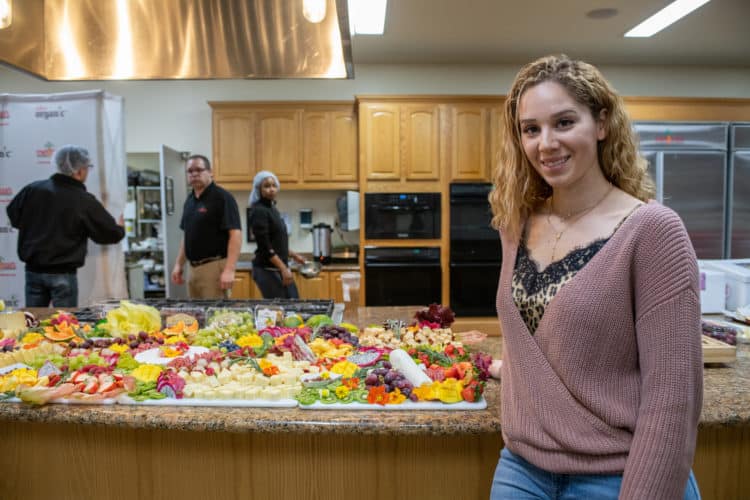
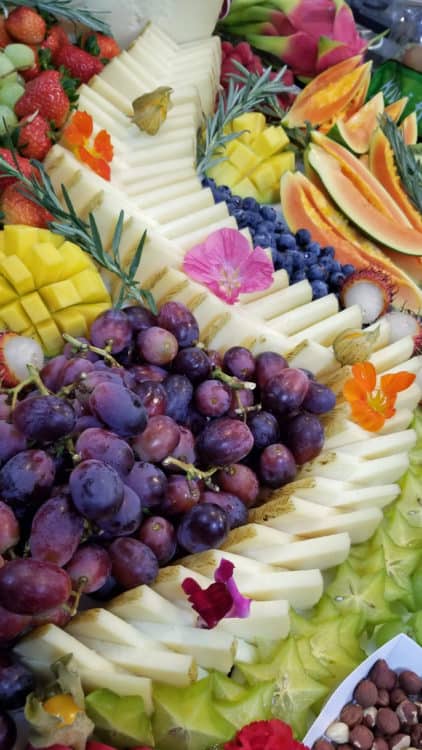
When we walked into the demo kitchen, we immediately saw what was at least an eight foot cheese board. (It was probably much bigger, but I was in awe and didn’t even try to stand above it and get it all in the frame when the details were so beautiful up close!) It was a crazy array of five kinds of cheese, innumerable fruits and topped off with edible flowers. When we were told to dig in and start eating, no one wanted to be the first one to break apart the beauty! Every individual item on that board was so pretty.
Shelia, or Shel, gave a beautiful demo on easy cheese board assembly. She shared her pro tips and answered questions, while we all got to assemble our own cheese board. Our tables were set with all the ingredients we’d need, with the only thing not supplied was our knives and aprons. (I took a small kitchen knife and it ended up working fine, but a lot of guests had very fancy large knives. My point? Use what you prefer!)
Here are some of the things I learned, and it’s just the tip of the iceberg. Head over to Cheesetotable.com for more details!
Easy Cheese Board Tips
Use one ounce of each cheese per guest on your cheese board.
Place the cheeses closer to the edges of the board: this helps anchor your other items.
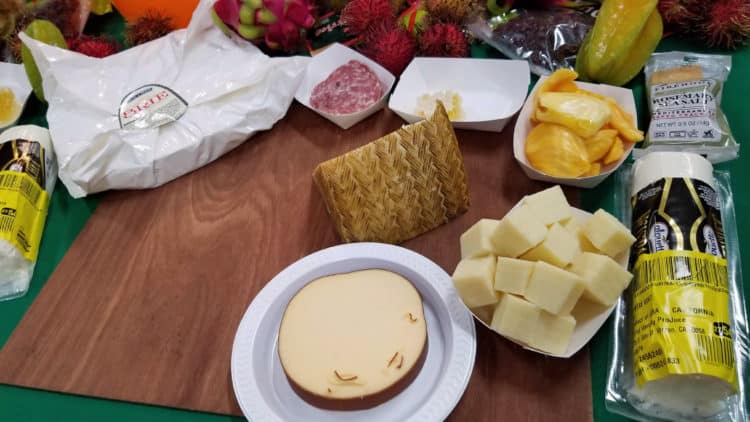
Arrange your other items near the cheeses with which you can pair them. Honeycomb, for example, goes well with brie, and strawberries go well with the white cheddar.
Cut your cheeses before you put them on the board. This encourages guests to dig in, as no one wants to be the first person to try to cut a slice of smoky manchego, possibly destroying your art work.
Get creative. Cheeses don’t need to be in a little pile, but can create a boundary by being placed on their sides or in rows.
Mix textures and flavors. Blue cheese may not be the most popular (and it has a distinct odor) but it can go well with nuts and rosemary crackers.
Each item does not need to be in just one pile. You can scatter pieces throughout the tray both for looks and accessibility.
If it’s on the tray, it should be edible BUT a sprig of rosemary can add a new color to an otherwise pastel tray.
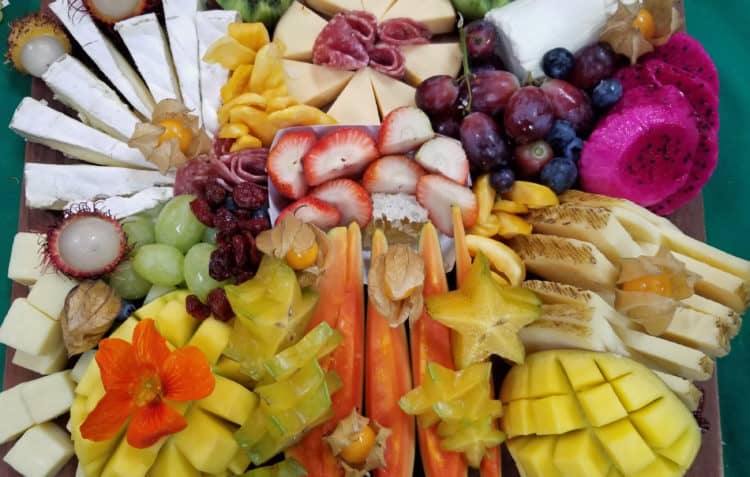
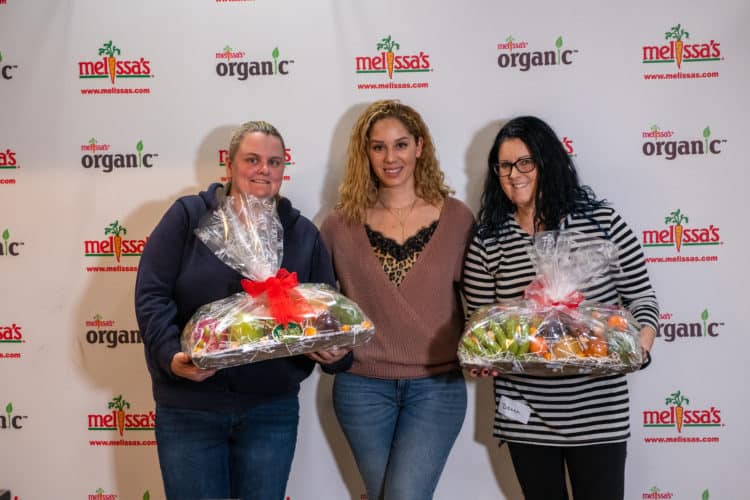
My cheese board turned out pretty well. It went from edge-to-edge, with no board showing through the food items. I was happy to have created something beautiful that would also feed my family and friends, since we got to take our creations home! Three out of four kids were on vacation in the mountains to celebrate birthdays, so we invited a few friends over last-minute to enjoy it with us. There was SO MUCH FOOD. They brought their own wine, while we enjoyed a bottle of 1882 Cabernet Sauvignon, also courtesy of Melissa’s Produce, part of the prize basket I won for social media during the event. What an evening!
Cheese boards can typically safely remain on the counter for six to seven hours, at most around 12. We refrigerated our leftovers and used them in several ways the next day: strawberry papaya made a great fruit muddle for a cocktail, the hard cheeses were turned into pan-fried cheese crisps, and other fruit got put into a Greek yogurt-based smoothie. No wasting here!
Thanks again to Melissa’s Produce and Shelia for a fun and informative day learning how to feed our loved ones in a creative and fun way. It encouraged me to try new things and change up our approach to putting on a party spread. Bonus of an easy cheese board? It’s assembled once, prior to the start of your event, and you are hands-off the entire evening, allowing you to enjoy spending time with your guests. Winning!
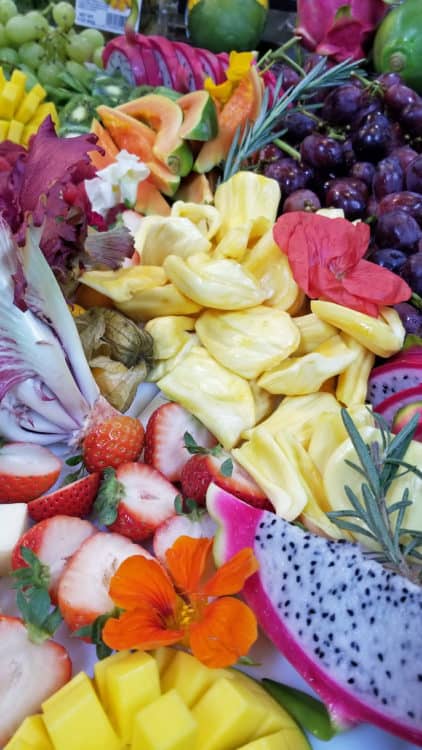
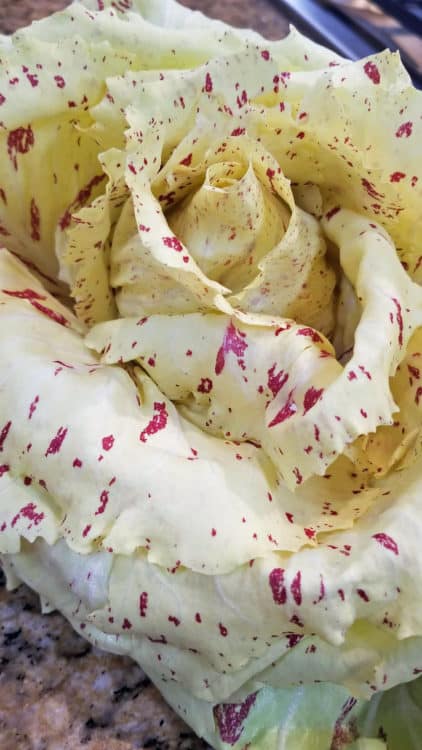
And another bonus was learning about a variety of Italian radicchios, including this gorgeous costa franco radicchio. Doesn’t it look like a giant rose? It’s edible and adds beauty to any plate.
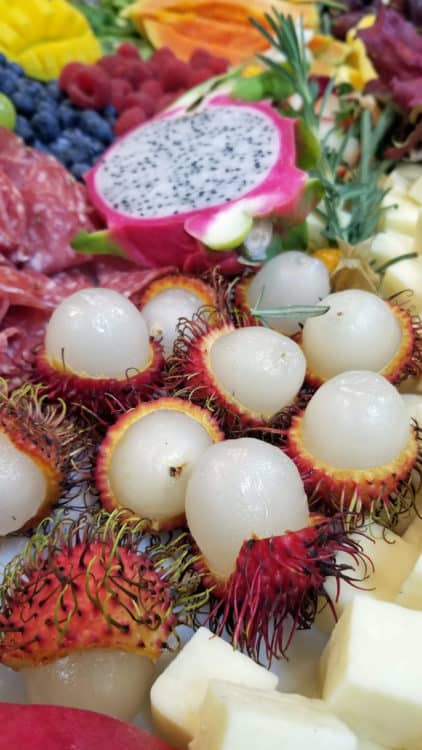
Speaking of beauty, check out these rambutans and dragon fruit, right? Nestled in around raspberries, blueberries, salami, mango, strawberry papaya and more, I could eat this way every day. (The fruit counteracts all the cheese, right??)
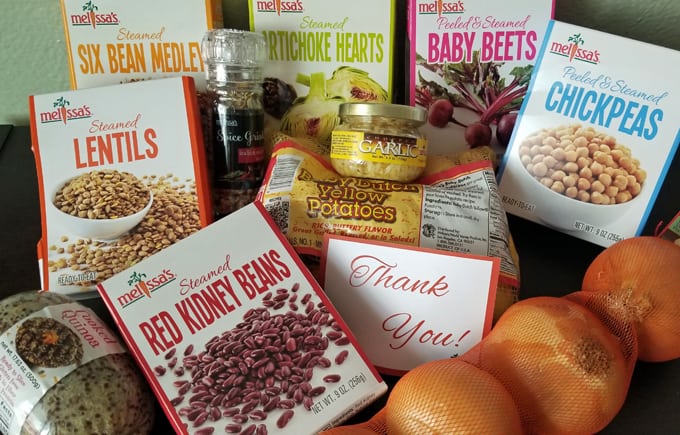
Melissa’s Produce provides the produce that we use for many recipe development posts. You can find my most recent recipe post here. Enjoy!